
Hello geeks and welcome in this article, we will cover cv2 normalize(). Along with that, we will also look at its syntax for an overall better understanding. Then we will see the application of all the theory part through a couple of examples. The cv2 is a cross-platform library designed to solve all computer vision-related problems. We will look at its application and work later in this article. But first, let us look at the definition of the function.
In general, normalization means repeating data repetition and eliminate unwanted characteristics. So, Image normalization can be understood as to how we change an image’s pixel intensity. Often it is linked with increasing contrast, which helps in better image segmentation.
Syntax
cv.normalize(img, norm_img)
This is the general syntax of our function. Here the term “img” represents the image file to be normalized. “Norm_img” represents the user’s condition to be implemented on the image. As we move ahead in this article, we will develop a better understanding of this function.
How Cv2 Normalize works?
We have discussed the definition and general syntax of Cv2 Normalize. In this section, we will try to get a brief idea about how it works. With the help of this, we can remove noise from an image. We bring the image in a range of intensity values, which makes the image less stressful and more normal to our senses. Primarily it does the job of making the subject image a bit clearer. It does so with the help of several parameters that we will discuss in detail in the next section.
Application of Cv2 Normalize
In this section, we will see what difference the cv2 Normalize code makes. To achieve this, we will first use the Cv2 imshow to display an image, after which we will use the normalize function and compare the 2 images to spot the difference.
import cv2

img = cv2.imread('3.jpeg',1)
cv2.imshow("sample",img)
cv2.waitKey(5000)
Output:
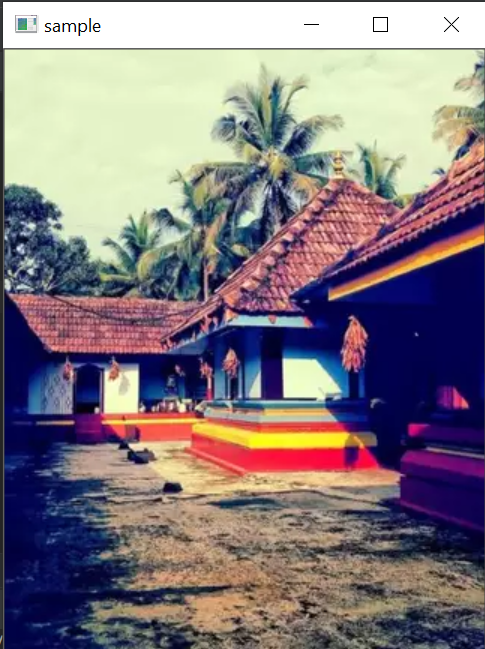
Here we have successfully used the imshow() function to print our image. As I have already covered the imshow() function, I will not go in-depth about it here. Our picture is not very clear, and its overall appearance can be improved considerably. Now let use our function and see the difference.
import cv2 as cv
import numpy as ppool
img = cv.imread("3.jpeg")
norm = ppool.zeros((800,800))
final = cv.normalize(img,  norm, 0, 255, cv.NORM_MINMAX)
cv.imshow('Normalized Image', final)
cv.imwrite('city_normalized.jpg', final)
cv.waitKey(5000)
Output:
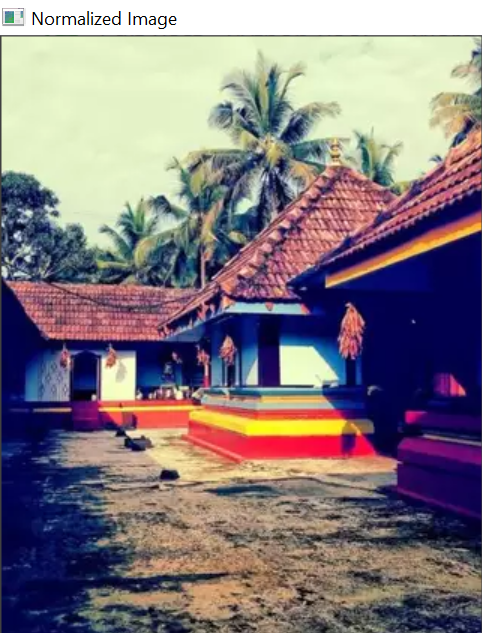
See what our function does; the change is quite evident. When you compare it with the previous one, you can notice that it is far clearer and has better contrast.
Now let us try to decode and understand the code that helped us achieve it. Here at first, we have imported cv2. After which, we have imported the NumPy module. Then we have used the imread() function to read our image. After that, we have used the numpy function zeros, which gives a new array of 800*800. Then we have used the cv normalized syntax. Here 1st we have our image name, second normalization condition. Then we have 255, which is the upper limit of our array, which means values beyond that will not be stored in it. Then, at last, we have used cv.NORM_MINMAX, in this case, the lower value is alpha, and the higher value is beta, so the function works between them.
How to get the original image back?
Using the normalized function creates a separate new file for the subject image. Our original image remains unchanged, and hence to obtain it, we can use the imshow() function.
How to Normalization by Min Max method in CV2?
There is a parameter that allows you to choose the algorithm to normalize the pixel values in the image. Generally, many users use the min-max method to get the best results. But sometimes, you may need to use different algorithms to change the normalization. Here are some of the allowed algorithms –
- NORM_INF
- NORM_L1
- NORM_L2
- NORM_L2SQR
- NORM_HAMMING
- NORM_HAMMING2
- NORM_TYPE_MASK
- NORM_RELATIVE
- NORM_MINMAX
Among these, use the NORM_MINMAX method to use the min-max algorithm for normalization in cv2.
Conclusion
In this article, we covered the Cv2 normalize(). We looked at its syntax and example. We tried to understand what difference this function can make to your image through example. As in our case, by applying this, we were able to achieve a much clearer picture. In the end, we can conclude that cv2 normalize() helps us by changing the pixel intensity and increasing the overall contrast.
I hope this article was able to clear all doubts. But in case you have any unsolved queries feel free to write them below in the comment section.
Your sample image and the normalized image look exactly the same…
It looks as same for this specific image. Maybe it was already normalized.
No. Really, they are not the same. They might seem the same in this particular example, but they are certainly not the same. Here: