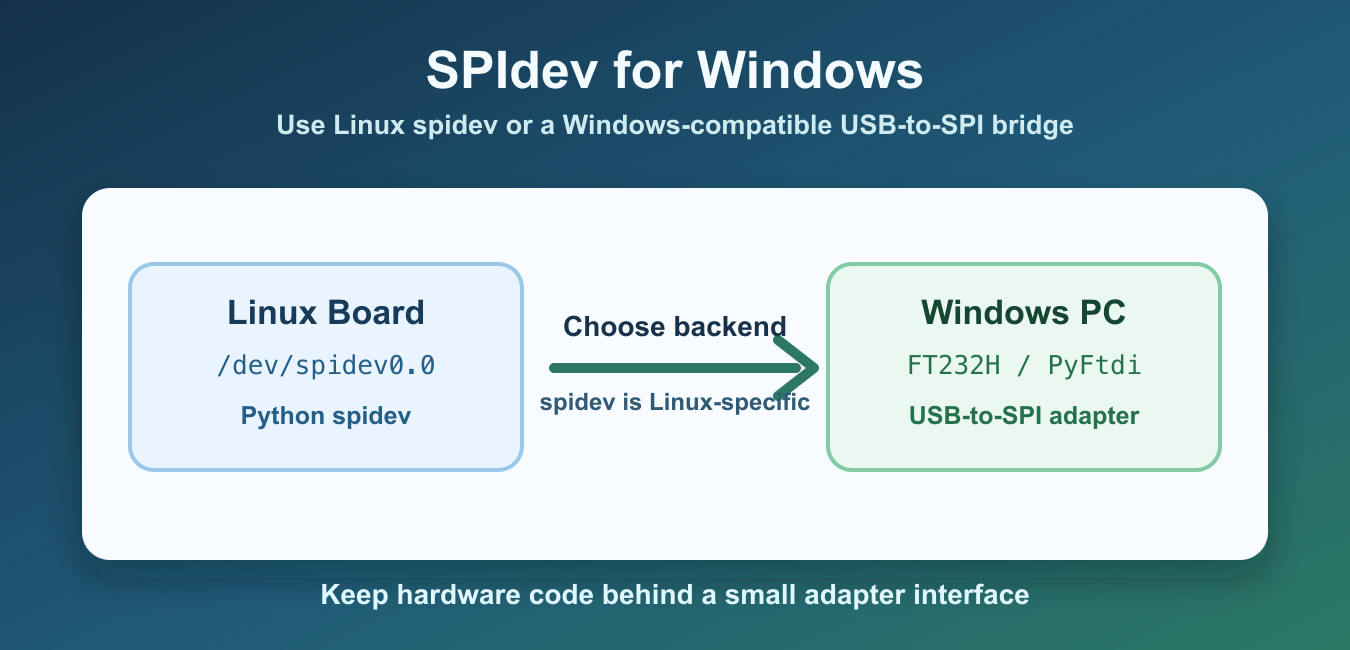
Quick answer: spidev targets the Linux spidev kernel interface, so native Windows does not provide the same device files or driver path. On Windows, choose a supported USB-to-SPI adapter, serial microcontroller bridge, CircuitPython-compatible device, or vendor SDK, and hide it behind a small backend interface.
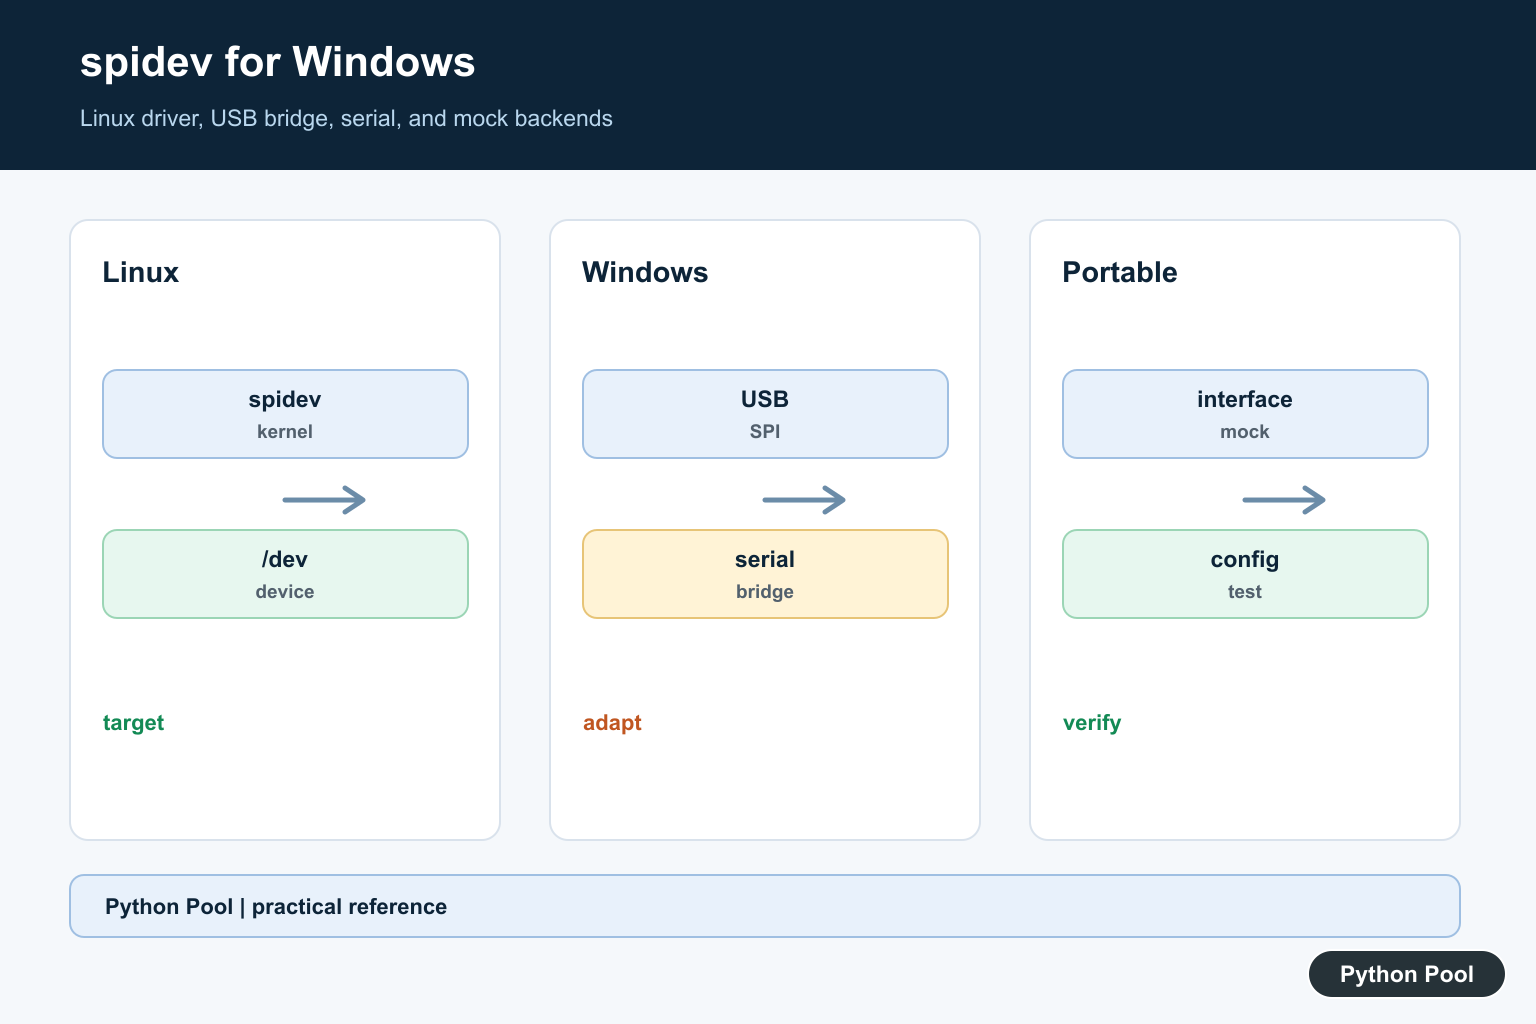
spidev is a Python module for talking to SPI devices through the Linux spidev kernel driver. That means native Windows does not expose the same /dev/spidev* device files that Raspberry Pi and other Linux boards use. The Python spidev project page describes the module as an interface to SPI devices from user space through the Linux kernel driver.
For Windows projects, the practical answer is usually not “install spidev.” Instead, choose a Windows-compatible SPI path: a USB-to-SPI adapter, an FTDI bridge with PyFtdi, a microcontroller that exposes SPI over serial, or a hardware vendor SDK. The right option depends on the device, voltage levels, driver support, and whether you need desktop Python or a Linux-capable board.
WSL can run Linux user-space tools, but it does not magically create SPI pins on a Windows laptop. You still need hardware that Windows can expose to the environment. For most desktop setups, a supported USB bridge is more predictable than trying to make Linux spidev access unavailable Windows hardware.
If you are writing code that must run on more than one operating system, detect the platform and keep hardware-specific code behind a small interface.
Detect Windows Before Importing spidev
Do not import spidev unconditionally in code that may run on Windows. Check the platform first and choose the backend that matches the machine.
import platform

system_name = platform.system()

if system_name == "Windows":
    backend = "usb_spi_adapter"
else:
    backend = "linux_spidev"

print(backend)
This does not solve SPI by itself, but it prevents a Windows import failure from hiding the real decision. Your application can then select a PyFtdi, serial, vendor SDK, or Linux backend explicitly.
Use spidev On Linux Boards
On Linux boards that expose SPI through the kernel driver, spidev remains the normal Python choice. Keep Linux code isolated so the rest of the program can be tested on Windows without hardware.
def transfer_with_linux_spidev(payload):
    import spidev

    spi = spidev.SpiDev()
    spi.open(0, 0)
    spi.max_speed_hz = 500_000
    try:
        return spi.xfer2(payload)
    finally:
        spi.close()
This function belongs in a Linux-specific adapter module. It should not be called on Windows unless you are using a Linux environment that actually has access to the SPI hardware.
Use PyFtdi With USB-to-SPI Hardware
For desktop Python on Windows, a USB-to-SPI adapter is often the cleanest path. PyFtdi supports FTDI devices with SPI, I2C, GPIO, and UART-style interfaces. The PyFtdi SPI API documentation shows how its SPI controller and ports are organized.
from pyftdi.spi import SpiController

def read_id_with_pyftdi():
    spi = SpiController()
    spi.configure("ftdi://ftdi:232h/1")
    slave = spi.get_port(cs=0, freq=1_000_000, mode=0)
    try:
        return list(slave.exchange([0x9F], 3))
    finally:
        spi.terminate()
The exact URL and chip-select settings depend on your adapter. Confirm wiring, voltage, SPI mode, and clock speed before assuming a software problem. Hardware mismatches often look like Python errors at first.
Install the adapter driver recommended by the hardware vendor and test with a simple command before connecting expensive peripherals. Once basic transfer works, move the values into your application code.
Use A Serial Bridge Through A Microcontroller
Another Windows-friendly option is to let a microcontroller handle SPI and expose a simple serial protocol to the PC. Python then sends commands over COM ports instead of controlling SPI pins directly.
import serial

def send_spi_command(port, payload):
    with serial.Serial(port, 115200, timeout=1) as link:
        link.write(bytes(payload))
        return list(link.read(3))

print(send_spi_command("COM5", [0x9F]))
This architecture is useful when the SPI timing is strict or when the target hardware already has microcontroller firmware. It also keeps Windows driver requirements simpler because Python only needs serial-port access.
The tradeoff is that you need firmware on the microcontroller. In return, the PC-side Python code stays portable and does not need low-level SPI access.
Hide Hardware Behind An Interface
Keep SPI-specific code behind a small interface so the rest of the program can be tested without the real device. A mock backend lets you verify parsing, retries, and error handling on any machine.
class SpiBus:
    def transfer(self, payload):
        raise NotImplementedError

class MockSpiBus(SpiBus):
    def transfer(self, payload):
        return [0x12, 0x34, 0x56]

bus = MockSpiBus()
print(bus.transfer([0x9F]))
This pattern works whether the production backend uses Linux spidev, PyFtdi, serial, or a vendor SDK. It also keeps unit tests independent from cables and drivers.
Keep Adapter Settings In Configuration
SPI projects often need a device URL, COM port, mode, speed, and chip-select value. Store those settings outside the transfer code so Windows and Linux setups can use different values without editing the logic.
from pathlib import Path

def load_adapter_url(path="spi_adapter.txt"):
    config_path = Path(path)
    if not config_path.exists():
        return "ftdi://ftdi:232h/1"
    return config_path.read_text(encoding="utf-8").strip()

print(load_adapter_url())
Configuration also makes troubleshooting easier. You can log the selected backend and adapter settings before opening the device, which helps distinguish a missing driver from a wiring or code issue.
In short, spidev is the Linux route. On Windows, use a supported adapter library such as PyFtdi, a CircuitPython/Blinka-compatible bridge, a serial microcontroller bridge, or the device vendor’s SDK. Adafruit’s FT232H Windows guide is a useful reference for one Windows-compatible USB bridge workflow.
Separate Hardware From Python
A Python import error can be a symptom of a hardware and operating-system mismatch. First identify which machine owns the SPI pins, then choose the library that supports that device and its driver instead of installing a package whose kernel target is unavailable.
Choose A Windows Backend
USB-to-SPI adapters are useful for desktop work, while a microcontroller serial bridge can handle timing and expose a simpler COM-port contract. A vendor SDK may be the correct option when the device has proprietary features or certified drivers.
Keep Platform Code Behind An Interface
Expose operations such as transfer, read ID, and close through a small interface. The Linux spidev, PyFtdi, serial, and mock implementations can then vary without spreading platform checks through application logic.
Validate Electrical Settings
SPI mode, clock speed, chip select, voltage levels, wiring, and driver installation are part of the interface. Confirm them with a simple known device response before debugging parsing or higher-level protocol code.
Use WSL With Realistic Expectations
WSL can provide Linux tools, but it does not create physical SPI pins. It is useful only when the Windows hardware and passthrough path expose what the Linux process needs; otherwise use a supported Windows bridge.
Test Without The Device
Mock transfers and test parsing, retries, timeouts, and error handling on every platform. Reserve hardware-in-the-loop checks for the adapter boundary and record the device, driver, firmware, and configuration used.
Keep Configuration Portable
Store backend type, device URL or COM port, chip select, mode, and speed outside transfer logic. Log non-sensitive configuration at startup so a failure can be separated into selection, driver, wiring, and protocol stages.
See the spidev project page, the PyFtdi SPI API, and the FT232H Windows guide. Related guidance includes test design and diagnostic logging.
For related portable hardware code, compare mocked interface tests, adapter diagnostics, and environment configuration before shipping a device backend.
Frequently Asked Questions
Does spidev work natively on Windows?
spidev targets the Linux spidev kernel interface, so native Windows does not provide the same device files or driver path.
What can I use instead of spidev on Windows?
Use a supported USB-to-SPI adapter library such as PyFtdi, a microcontroller serial bridge, CircuitPython-compatible hardware, or a vendor SDK.
Can WSL access SPI hardware automatically?
No. WSL provides a Linux user space but does not create SPI pins or automatically expose unavailable Windows hardware; the adapter and passthrough path still matter.
How should portable SPI Python code be structured?
Hide hardware-specific backends behind a small interface, choose the backend by platform and configuration, and test protocol logic with a mock bus.