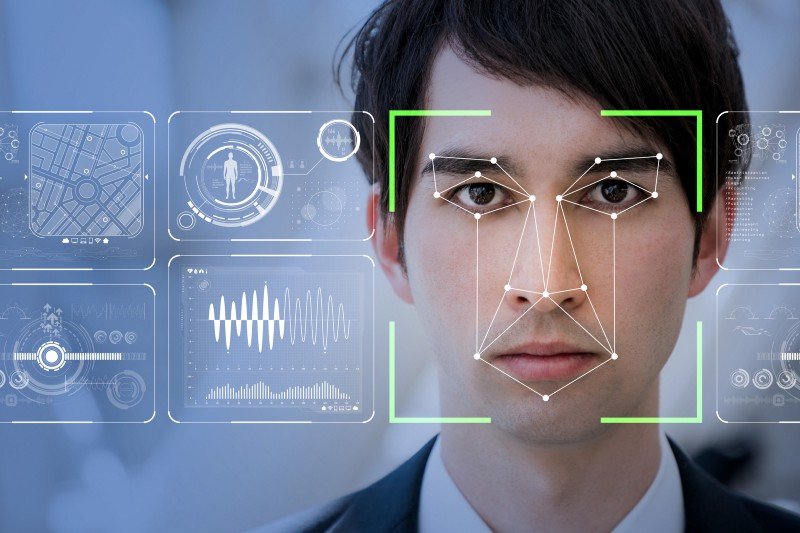
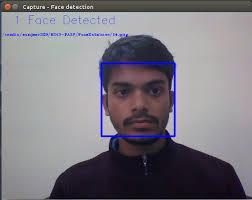
Face detection is a computer technology used in a variety of applicaions that identifies human faces in digital images. It also refers to the psychological process by which humans locate and attend to faces in a visual scene.
In this post we are going to learn how to perform face recognition in both images and video streams using:
- OpenCV
- Python
- Deep learning /Machine learning
As we’ll see, the deep learning-based facial embeddings we’ll be using here today are both highly accurate and capable of being executed in real-time.
To learn more about face recognition with Python, and deep learning, just keep reading!
openCV

The module OpenCV (Open source computer vision) is a library of programming functions mainly aimed at real-time computer vision. Several IoT and Machine learning techniques can be done by it. Its one of the most powerful computer vision.
It is the most popular library for computer vision. Originally written in C/C++, it now provides bindings for Python. It uses machine learning algorithms to search for faces within a picture.
First, you need to install openCv for your Python. This is done by using -pip installer on your command prompt.
pip install opencv
Once you install it on your machine, it can be imported to Python code by -import cv2 command.
The following is code for face detection:
import cv2

# create a new cam object
cap = cv2.VideoCapture(0)
# initialize the face recognizer (default face haar cascade)
face_cascade = cv2.CascadeClassifier("cascades/haarcascade_fontalface_default.xml")
while True:
    # read the image from the cam
    _, image = cap.read()
    # converting to grayscale
    image_gray = cv2.cvtColor(image, cv2.COLOR_BGR2GRAY)
    # detect all the faces in the image
    faces = face_cascade.detectMultiScale(image_gray, 1.3, 5)
    # for every face, draw a blue rectangle
    for x, y, width, height in faces:
        cv2.rectangle(image, (x, y), (x + width, y + height), color=(255, 0, 0), thickness=2)
    cv2.imshow("image", image)
    if cv2.waitKey(1) == ord("q"):
        break
cap.release()
cv2.destroyAllWindows()
Face Recognition:
Every Machine Learning algorithm takes a dataset as input and learns from this data. The algorithm goes through the data and identifies patterns in the data. For instance, suppose we wish to identify whose face is present in a given image, there are multiple things we can look at as a pattern:
- Height/width of the face.
- Height and width may not be reliable since the image could be rescaled to a smaller face. However, even after rescaling, what remains unchanged are the ratios – the ratio of height of the face to the width of the face won’t change.
- Color of the face.
- Width of other parts of the face like lips, nose, etc.
face_recognition library in Python can perform a large number of tasks:
- Find all the faces in a given image
- Find and manipulate facial features in an image
- Identify faces in images
- Real-time face recognition
After detecting faces, the faces can also be recognized and the object/Person name can notified above . The following are the steps to do so.
Understanding the Python code:
Now, let us go through the code to understand how it works:
# import the libraries
import os
import face_recognition
These are simply the imports. We will be using the built-in os library to read all the images in our corpus and we will use face_recognition for the purpose of writing the algorithm.
# make a list of all the available images
images = os.listdir('images')
This simple code helps us identify the path of all of the images in the corpus. Once this line is executed, we will have:
images = ['img.jpg', 'img1.jpg', 'img2.jpg', 'img3.jpg', 'img4.jpg', 'img5.jpg', 'img6.jpg']
Now, the code below loads the new celebrity’s image:
# load your image
image_to_be_matched = face_recognition.load_image_file('my_image.jpg')
To make sure that the algorithms are able to interpret the image, we convert the image to a feature vector:
# encoded the loaded image into a feature vector

image_to_be_matched_encoded = face_recognition.face_encodings(image_to_be_matched)[0]
The rest of the code now is fairly easy which imports and processes data:
Here, we are:
The whole code is give here. Upload respective images to work on it.
<pre class="wp-block-syntaxhighlighter-code"># import the libraries
import os
import face_recognition

# make a list of all the available images
images = os.listdir('images')

# load your image
image_to_be_matched = face_recognition.load_image_file('my_image.jpg')

# encoded the loaded image into a feature vector
image_to_be_matched_encoded = face_recognition.face_encodings(
    image_to_be_matched)[0]

# <a href="https://www.pythonpool.com/python-iterate-through-list/" target="_blank" rel="noreferrer noopener">iterate</a> over each image
for image in images:
    # load the image
    current_image = face_recognition.load_image_file("images/" + image)
    # encode the loaded image into a feature vector
    current_image_encoded = face_recognition.face_encodings(current_image)[0]
    # match your image with the image and check if it matches
    result = face_recognition.compare_faces(
        [image_to_be_matched_encoded], current_image_encoded)
    # check if it was a match
    if result[0] == True:
        print "Matched: " + image
    else:
        print "Not matched: " + image</pre>
Output :
The following are some of the pictures showing effectiveness and power of face detection technique using the above code.
face detection face recognition
In Python, Face Recognition is an interesting problem with lots of powerful use cases that can significantly help society across various dimensions. While there will always be an ethical risk attached to commercializing such techniques, that is a debate we will shelve for another time.
Must Read
Exploring numpy.ones Function in Python | np.ones
8 Examples to Implement os.listdir() in Python
Python getpass Explained With Examples


