
Quick Answer
Install pyvirtualdisplay and the system Xvfb package, then create a Display(), call start(), run the GUI or browser test, and call stop() in a finally block. PyVirtualDisplay is primarily for Unix-like systems where Xvfb is available; it does not replace a Windows display server.
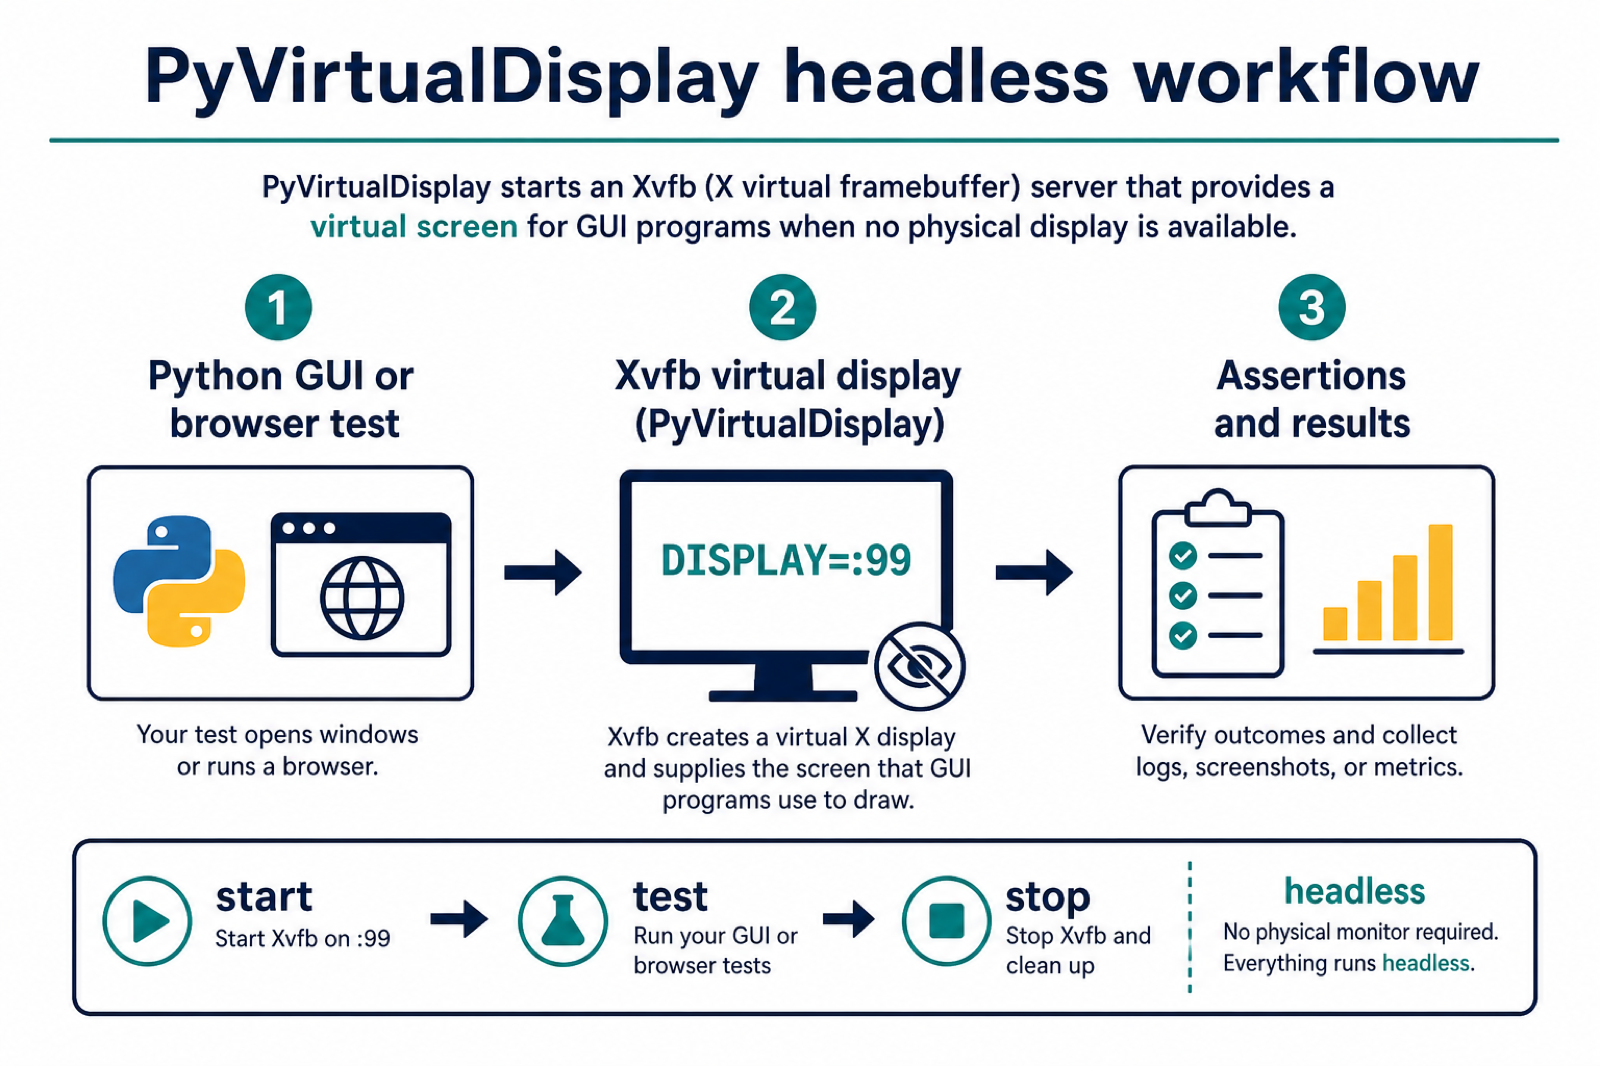
PyVirtualDisplay is a Python wrapper that starts a virtual X display before your code runs. It is useful when a GUI toolkit, screenshot tool, browser test, or legacy automation script expects a display, but the job runs on a server, container, CI worker, or background process without a physical screen.
The official PyVirtualDisplay project describes the package as a wrapper for Xvfb, Xephyr, and Xvnc. That detail matters: the Python package does not replace those display programs. You install the Python package with pip, and you also make sure the selected display backend is available on the host. The PyPI project page currently lists version 3.0 and links back to the same documentation.
When PyVirtualDisplay helps
Use PyVirtualDisplay when a program needs X display semantics even though nobody needs to see the window. Common examples include GUI smoke tests, screenshot generation, browser automation that behaves differently in native headless mode, matplotlib or Qt jobs that open windows, and test suites that still assume a DISPLAY environment variable. For browser-only checks, Selenium and modern browsers also support native headless execution; the Selenium headless mode notes explain why newer Selenium examples set headless through browser arguments.
That makes the decision practical: use browser-native headless mode when the browser is the only thing that needs to run invisibly. Use PyVirtualDisplay when the test or app expects a real X display, when screenshots need a virtual screen, or when older GUI code cannot run without DISPLAY. For broader test setup context, see our guides to Python testing frameworks and Selenium with Python.
Install the Python package
Install the package into the same interpreter that runs your test suite. This avoids the usual mismatch where pip installs into one environment while pytest, a notebook, a task runner, or a web worker runs another environment.
import subprocess
import sys

subprocess.check_call([
    sys.executable,
    "-m",
    "pip",
    "install",
    "-U",
    "pyvirtualdisplay",
])
After the package install, verify the display backend too. The X.Org Xvfb manual describes Xvfb as an X server that can run without display hardware or physical input devices. PyVirtualDisplay starts that program for you, but it cannot use a backend binary that is missing from the host.
from importlib import metadata
import shutil

try:
    print("PyVirtualDisplay", metadata.version("PyVirtualDisplay"))
except metadata.PackageNotFoundError:
    print("PyVirtualDisplay is not installed in this interpreter")

xvfb_path = shutil.which("Xvfb")
if xvfb_path is None:
    raise RuntimeError("Install Xvfb on the host before starting Display")

print(f"Xvfb found at: {xvfb_path}")
Start a hidden display
The cleanest pattern is a context manager. It starts the virtual display, sets the process environment while the block is active, and then stops the display afterward. This is safer than leaving a display running after a failed test.
from pyvirtualdisplay import Display

with Display(visible=False, size=(1280, 720), color_depth=24) as display:
    print(f"Virtual display is running: {display.is_alive()}")
    print(f"Display number: {display.display}")

print(f"Virtual display is running: {display.is_alive()}")
The size should match the layout you are testing. A very small display can change responsive breakpoints and produce screenshots that do not match your real browser target. A large display consumes more memory, so pick a stable project default such as 1280 by 720 or 1366 by 768 and keep it consistent in CI.
Run Selenium inside the display
PyVirtualDisplay should start before Selenium opens the browser. The browser process inherits the display environment, runs normally, and then closes before the display shuts down. Use try/finally so the browser quits even when an assertion fails.
from pyvirtualdisplay import Display
from selenium import webdriver
from selenium.webdriver.chrome.options import Options

options = Options()
options.add_argument("--disable-dev-shm-usage")

with Display(visible=False, size=(1280, 720)):
    driver = webdriver.Chrome(options=options)
    try:
        driver.get("https://www.python.org/")
        assert "Python" in driver.title
    finally:
        driver.quit()
If your browser tests work correctly with native headless mode, you may not need PyVirtualDisplay for that project. If tests rely on window managers, older GUI behavior, screenshots, or libraries that require DISPLAY, the virtual display approach is still useful.
Use it as a pytest fixture
For test suites, make the display lifecycle explicit. A fixture keeps setup and cleanup in one place and prevents every test from copying the same start and stop code.
import pytest
from pyvirtualdisplay import Display

@pytest.fixture
def virtual_display():
    display = Display(visible=False, size=(1366, 768), color_depth=24)
    display.start()
    try:
        yield display
    finally:
        display.stop()

def test_display_started(virtual_display):
    assert virtual_display.is_alive()
Use one fixture per process unless you have a specific reason to start multiple displays. PyVirtualDisplay changes environment variables for child processes, so parallel test runs need a little more care than a simple single-process suite.
Troubleshooting
If you see FileNotFoundError for Xvfb, install the host display backend and confirm it is on PATH. If screenshots are blank, make sure the GUI process starts after the display starts and that the screenshot code uses the same environment. If tests pass locally but fail in CI, print the interpreter path, package version, backend path, and display number in the failing job logs.
import subprocess
from pyvirtualdisplay import Display

with Display(
    backend="xvfb",
    visible=False,
    size=(1280, 720),
    manage_global_env=False,
) as display:
    env = display.env()
    subprocess.run(["python", "run_gui_task.py"], env=env, check=True)
The manage_global_env=False pattern is useful when you do not want PyVirtualDisplay to replace the global environment for the whole Python process. Instead, you pass the display environment only to the child process that needs it. This keeps parallel jobs and larger test runners easier to reason about.
Summary
PyVirtualDisplay is best treated as a small lifecycle manager around an installed X display backend. Install the Python package in the active environment, confirm Xvfb is available, start Display before GUI or browser code runs, and always stop the display after the task. That setup keeps headless Python tests predictable while removing the old stale links and vague setup advice that commonly cause this topic to decay.
Start and Stop the Virtual Display Reliably
The display must be running before a GUI toolkit or browser creates its window. Use a context manager or try/finally so a failed test does not leave an Xvfb process behind.
from pyvirtualdisplay import Display

with Display(visible=False, size=(1440, 900)):
    run_browser_or_gui_test()
The context manager gives the test a display such as :99 and restores the environment when the block exits. Choose a size large enough for the layout being tested and make screenshots part of failure diagnostics when possible.
Use PyVirtualDisplay in pytest
For a test suite, start one display per session or fixture according to the isolation you need. Keep browser startup inside the display context and close browser processes before the display stops.
import pytest
from pyvirtualdisplay import Display

@pytest.fixture
def display():
    with Display(visible=False, size=(1280, 800)):
        yield

def test_page(display):
    run_browser_test()
Install the operating-system dependency in the CI image, not only in the Python environment. If the test fails with a display or X connection error, verify Xvfb is installed, the display variable is set, and no stale process is occupying the display number.
Frequently Asked Questions
What is PyVirtualDisplay used for?
PyVirtualDisplay provides a Python interface for starting a virtual X display so GUI or browser programs can run without a physical monitor.
Does PyVirtualDisplay work on Windows?
It is designed around X displays such as Xvfb and is normally used on Linux or other Unix-like systems. Windows needs a different display strategy.
How do I install PyVirtualDisplay?
Install the pyvirtualdisplay Python package and the system Xvfb dependency in the same machine or CI image that runs the test.
How do I clean up a PyVirtualDisplay session?
Use a with Display(…) context manager or call stop() in a finally block after closing the browser or GUI process.