
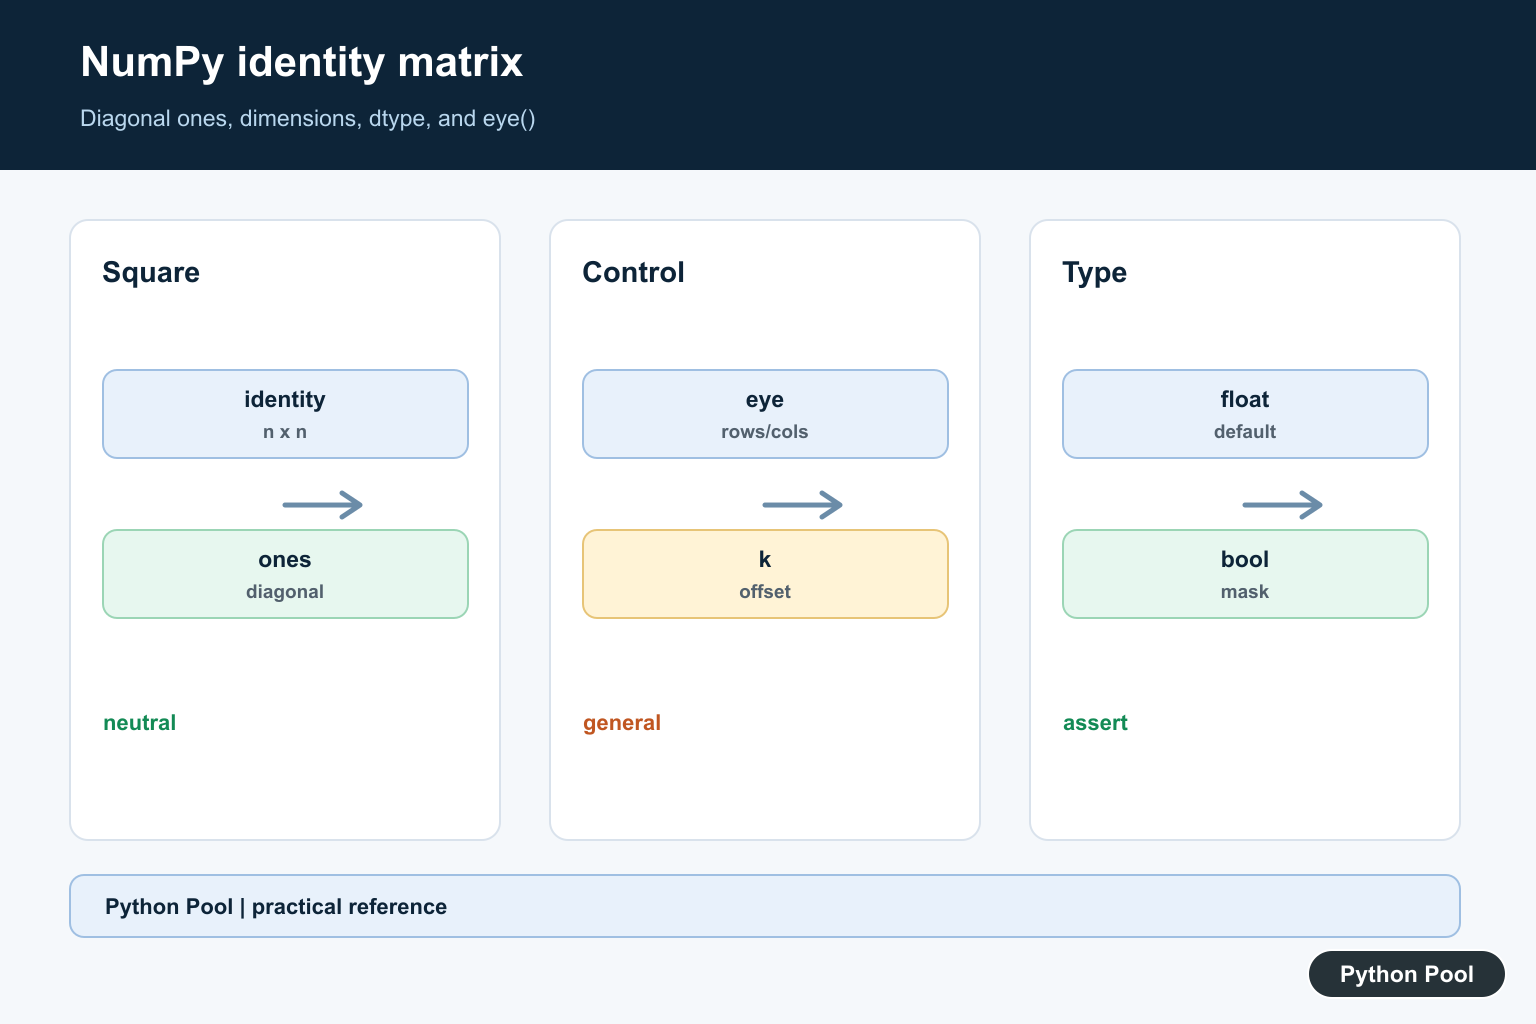
Quick answer: np.identity(n) creates an n by n square array with ones on the main diagonal and zeros elsewhere. Use np.eye when you need rectangular dimensions or an offset diagonal, and choose dtype explicitly when the matrix is used as an integer or boolean mask.
numpy.identity() creates a square identity matrix: ones on the main diagonal and zeros everywhere else.
The official NumPy documentation covers numpy.identity(), numpy.eye(), and numpy.diag().
Use identity() when the intent is specifically a square identity matrix. It is concise and easy to read.
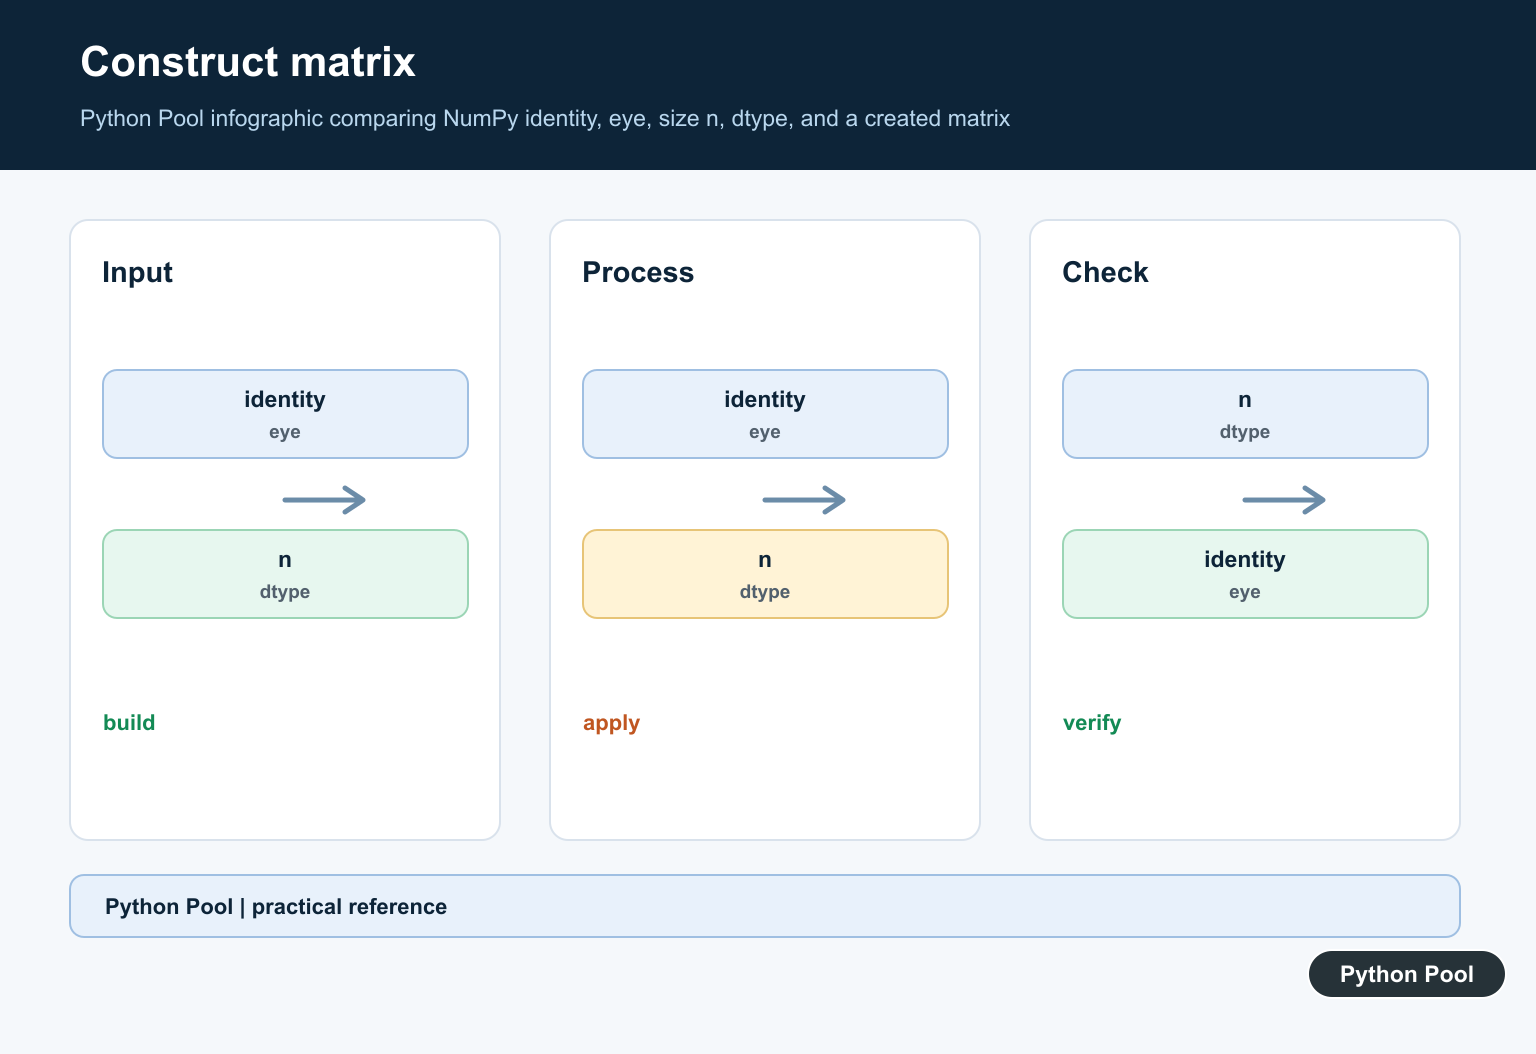
The main argument is n, the number of rows and columns. The result always has shape (n, n).
The optional dtype argument controls the output type. The default is floating point, but integer and boolean outputs can be useful in examples or masks.
identity() is related to eye(). Use identity() for the common square case, and use eye() when you need rectangular output or shifted diagonals.
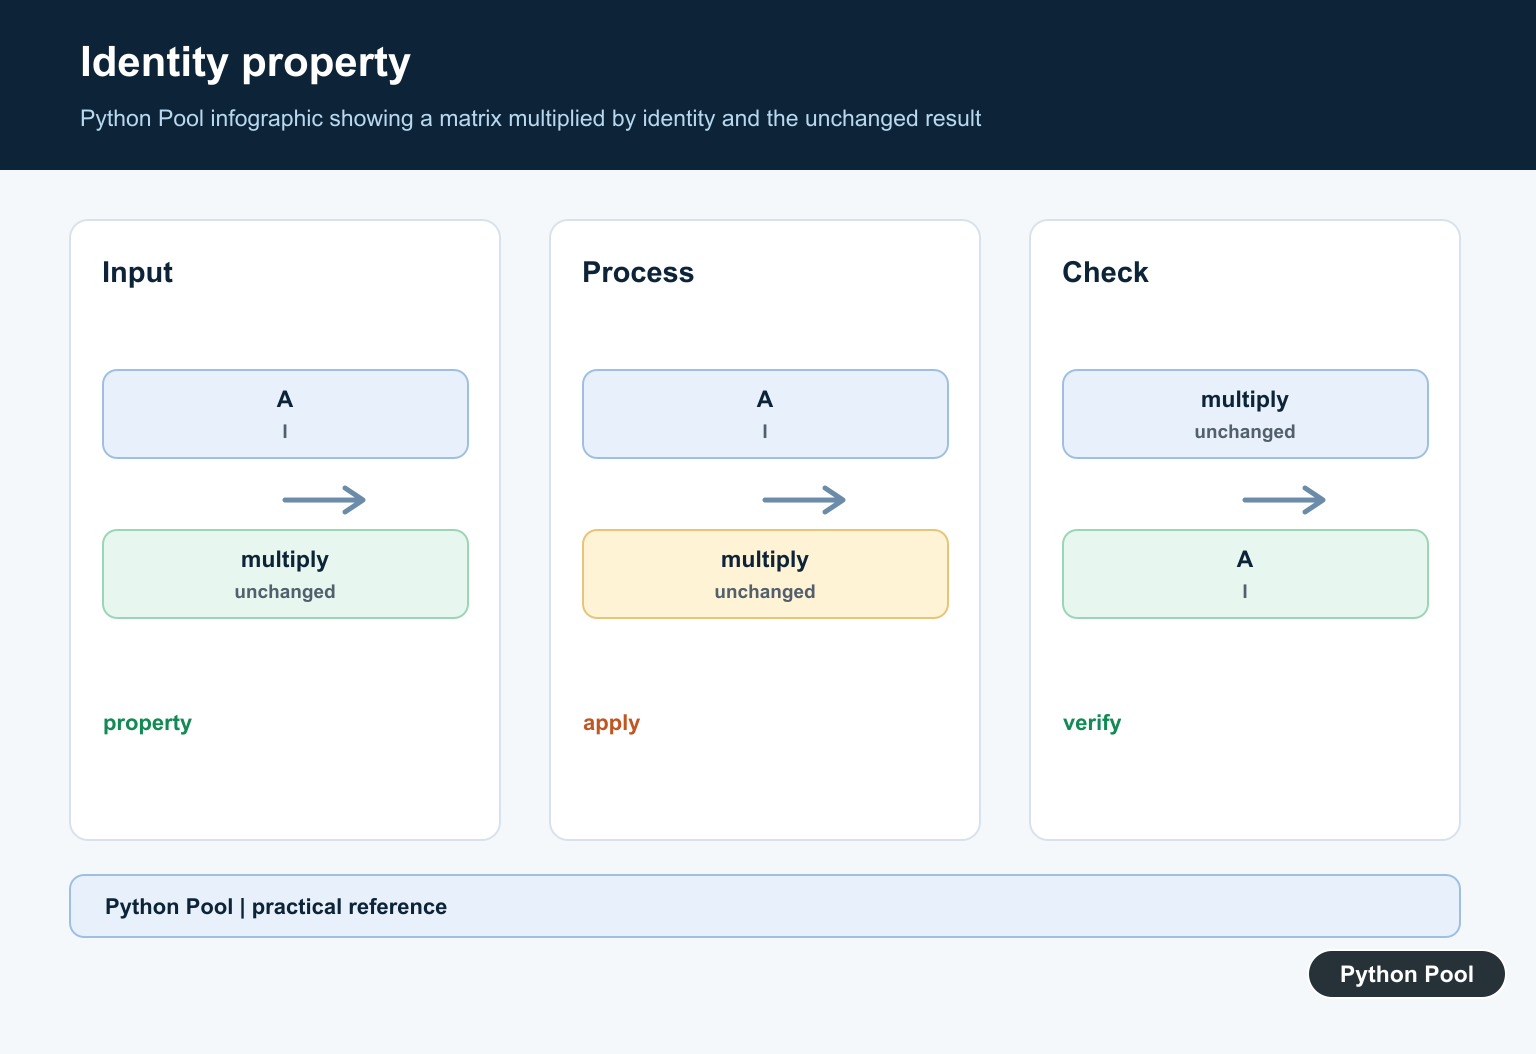
An identity matrix acts like the neutral element for matrix multiplication. Multiplying a compatible matrix by the identity matrix leaves the matrix unchanged.
Check shape before using it in matrix multiplication. The identity size must match the dimension being multiplied.
When in doubt, print both shapes before multiplying.
For extracting a diagonal or building a diagonal from specific values, diag() is usually the clearer function.
A practical review step is to ask whether the matrix must be square. If the answer is yes, identity() is a natural fit. If the output may be rectangular, use eye().
Identity matrices are also useful in tests because their behavior is predictable. They make it easy to check that a matrix operation preserves data when it should.
Create An Identity Matrix
Pass a size to create a square identity matrix.
import numpy as np

matrix = np.identity(4)

print(matrix)
print(matrix.shape)
This creates a 4 x 4 matrix.
The main diagonal contains ones.
Every off-diagonal position contains zero.
This is the standard use of np.identity().
The size argument controls both dimensions at once, so np.identity(4) always means four rows and four columns.
Set dtype
Use dtype when the output type should be explicit.
import numpy as np

matrix = np.identity(3, dtype=np.int64)

print(matrix)
print(matrix.dtype)
This creates integer zeros and ones.
Integer output is often clearer in display examples.
Floating-point output is usually fine for numerical linear algebra.
Set dtype based on how the matrix will be used next.
For display-only examples, integer dtype can make the printed output easier to read. For numeric calculations, the default floating-point dtype often matches the rest of the workflow.

Use identity In Matrix Multiplication
An identity matrix leaves a compatible matrix unchanged under matrix multiplication.
import numpy as np

data = np.array([
    [2, 4],
    [6, 8],
])
identity = np.identity(2)

result = data @ identity

print(result)
The result has the same values as data.
The identity matrix size matches the second dimension of data.
If the size does not match, matrix multiplication raises a shape error.
Use this property in examples, tests, and linear algebra workflows.
This neutral behavior is why identity matrices are often compared to the number one in ordinary multiplication.
Compare identity And eye
identity() creates a square matrix. eye() can also create square identity-like arrays.
import numpy as np

from_identity = np.identity(3)
from_eye = np.eye(3)

print(from_identity)
print(np.array_equal(from_identity, from_eye))
For a simple square identity matrix, both functions can produce the same result.
eye() is more flexible because it supports rectangular shapes and diagonal offsets.
identity() is more direct when the goal is only a square identity matrix.
Choose the function that communicates intent most clearly.
If another reader sees identity(), they can assume a square identity matrix. If they see eye(), they should check whether the call uses custom shape or offset arguments.
Create A Boolean Diagonal Mask
A boolean identity matrix can act as a mask for diagonal positions.
import numpy as np

mask = np.identity(3, dtype=bool)

print(mask)
The diagonal positions are True, and other positions are False.
This can be useful when diagonal positions need different handling.
For extracting diagonal values from data, diag() may be simpler.
Use the boolean form when the mask itself is useful.
Boolean masks are helpful when diagonal positions need to be selected, protected, or updated separately from the rest of an array. The same diagonal mask can be expressed as a Kronecker delta; NumPy Kronecker Delta Guide builds that indicator with NumPy arrays.
Use eye For Offset Diagonals
If the diagonal must move above or below the main diagonal, use eye().
import numpy as np

main = np.identity(4)
offset = np.eye(4, k=1)

print(main)
print(offset)
identity() always uses the main diagonal.
eye() supports the k argument for diagonal offsets.
That makes eye() the better option for shifted diagonal patterns, while identity() stays focused on the main diagonal square case. identity() creates a square identity matrix, while NumPy eye: Create Identity-Like Arrays can offset the diagonal and create rectangular identity-like arrays.
In short, use np.identity(n) for a square identity matrix, set dtype when type matters, and switch to np.eye() when rectangular output or shifted diagonals are needed.
Create The Square Identity
The identity matrix is the neutral element for compatible matrix multiplication. np.identity(n) returns a square matrix, so validate n and the expected shape before multiplying. The default floating-point dtype is convenient for linear algebra but may not match a discrete mask or index workflow.
Use eye For More Control
np.eye supports separate row and column counts and a diagonal offset k. That makes it the more general constructor for rectangular matrices, superdiagonal and subdiagonal patterns, and arrays whose dimensions come from runtime data.
Set dtype At The Boundary
Pass dtype=int, bool, or another appropriate type instead of relying on implicit conversion later. A boolean diagonal mask has different indexing semantics from a floating-point matrix, and integer arithmetic can have different promotion and overflow behavior.
Use Identity In Algebra Carefully
Multiplying by an identity matrix preserves a compatible vector or matrix, but constructing a huge dense identity can waste memory when a sparse representation or a direct operation would work. Match the representation to the downstream algorithm.
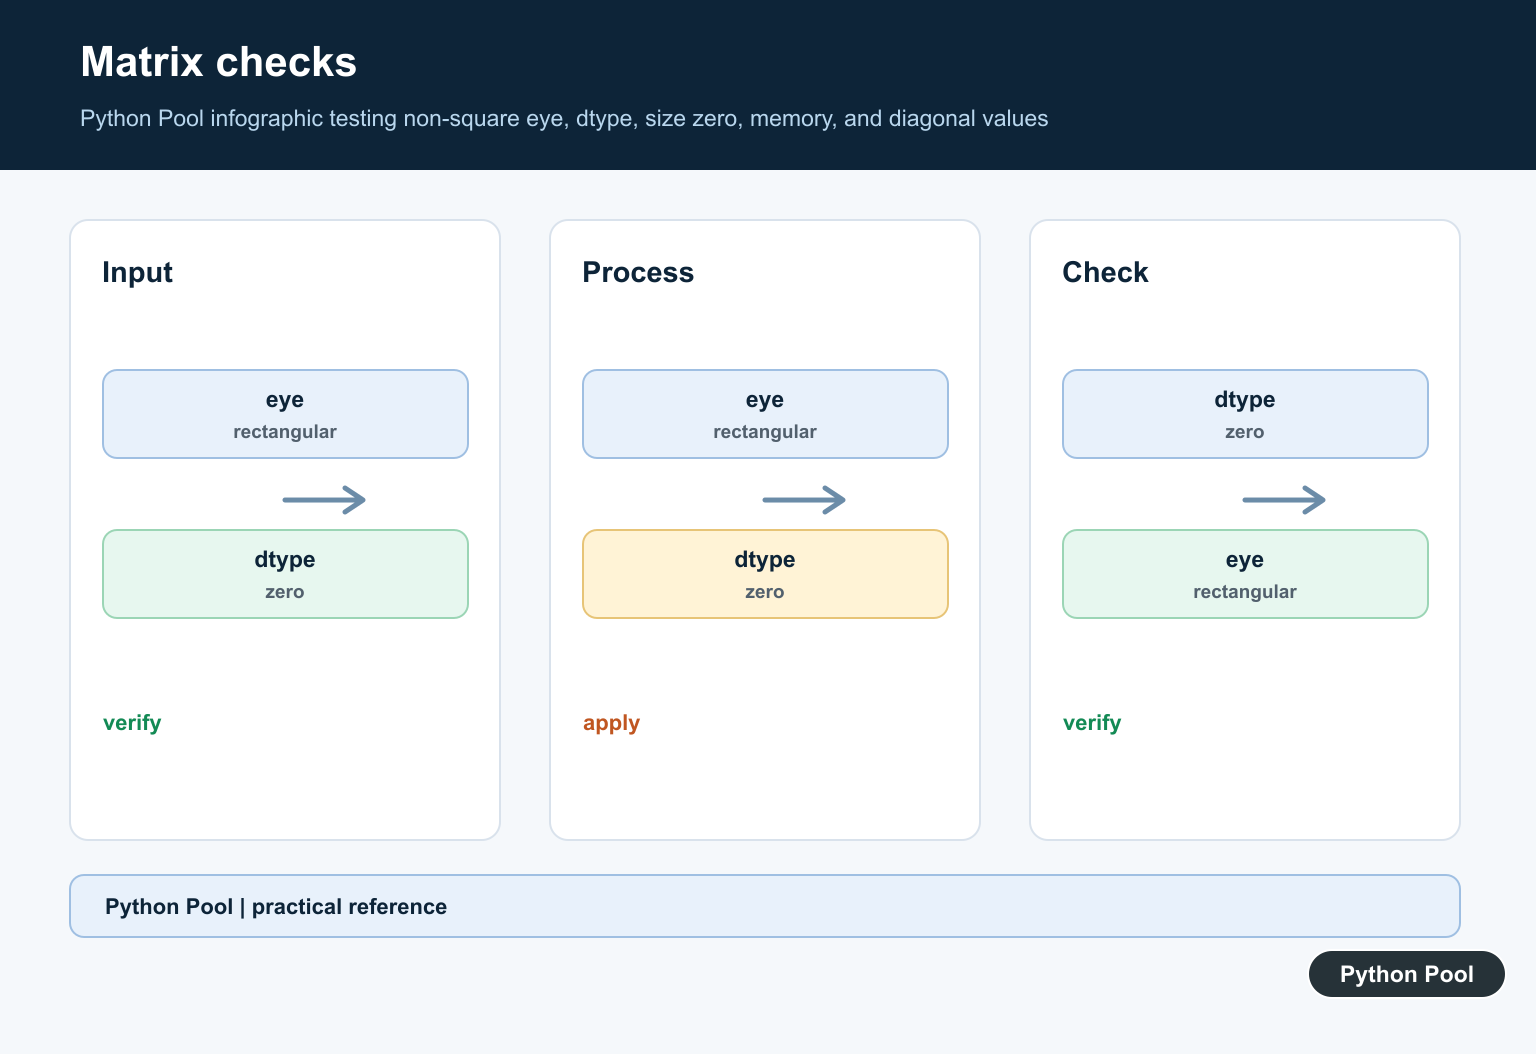
Test Shape And Diagonal
Test one-by-one, larger square, rectangular, offset-diagonal, integer, and boolean cases. Assert the main diagonal, off-diagonal zeros, dtype, and shape. For matrix products, test both operand orientations so a transposed or broadcast result is not mistaken for identity behavior.
The official numpy.identity reference and numpy.eye reference define dimensions, diagonal offsets, and dtype. Related guidance includes NumPy axes and array tests.
For related matrix construction, compare NumPy eye(), matrix operations, and axis choices when checking identity shapes and diagonals.
Frequently Asked Questions
How do I create an identity matrix in NumPy?
Call np.identity(n) for an n by n square identity matrix, or use np.eye when you need rectangular dimensions or a diagonal offset.
What dtype does np.identity use?
The default is floating point, but pass dtype=int, bool, or another supported dtype when the downstream operation requires a specific representation.
What is the difference between identity() and eye()?
identity() creates a square matrix with the main diagonal, while eye() also supports separate row and column counts and a diagonal offset.
Can an identity matrix be used as a mask?
Yes. A boolean identity matrix selects the main diagonal in suitable indexing operations, but confirm the shape and broadcasting behavior first.