
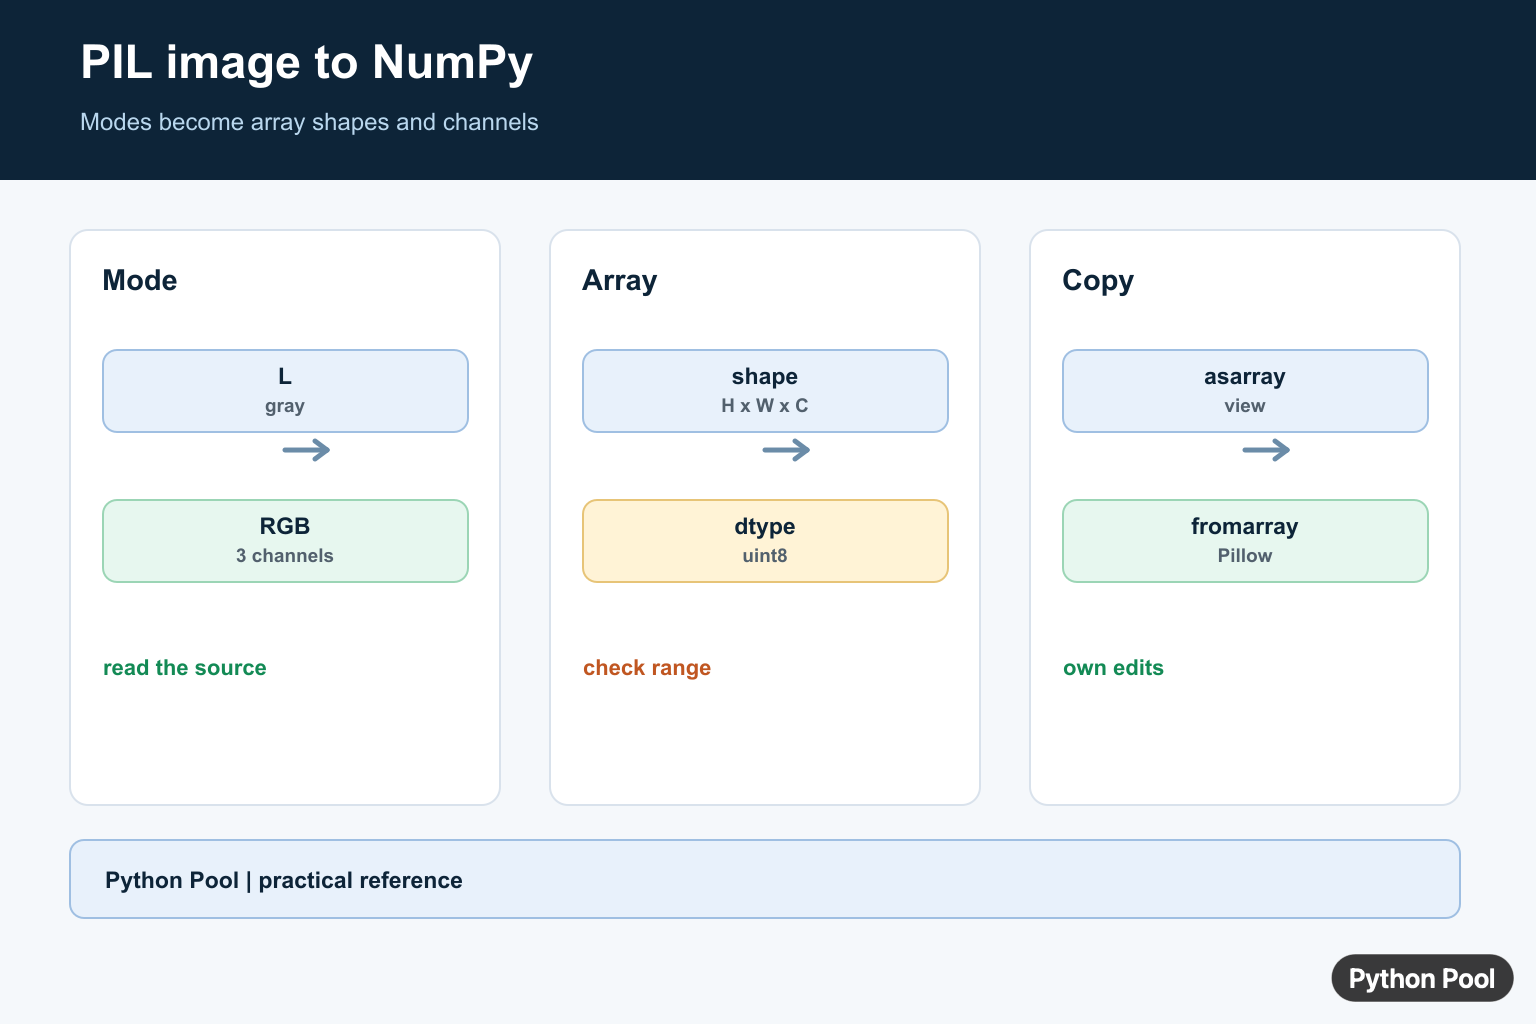
Quick answer: Open a Pillow image and pass it to np.asarray() or np.array(). The image mode determines the array shape: grayscale is height by width, RGB adds three channels, and RGBA adds an alpha channel. Inspect dtype and range before image processing.
Converting a PIL image to a NumPy array is a common step in Python image processing. Pillow handles opening, saving, resizing, and mode conversion. NumPy makes the pixel data easy to inspect, slice, calculate, and pass into computer vision workflows.
The modern package is Pillow, but it still uses the import name PIL. That is why examples use from PIL import Image. Install the required packages with python -m pip install pillow numpy in the same environment that runs your script.
Use np.array(image) when you want an editable copy of the image data. Use np.asarray(image) when you want NumPy to create an array view when possible. The Pillow Image reference explains image modes, and the NumPy asarray reference explains array conversion behavior.
If Pillow is missing, the import can fail with No module named PIL. The No module named PIL guide covers that installation issue. For a closer look at NumPy conversion choices, see the NumPy asarray guide.
The best conversion method depends on what happens next. For quick inspection, np.asarray() is often enough. For pixel edits, filters, masks, or channel changes, np.array() or an explicit .copy() makes the script clearer because later changes happen on independent array data.
Convert A Pillow Image To A NumPy Array
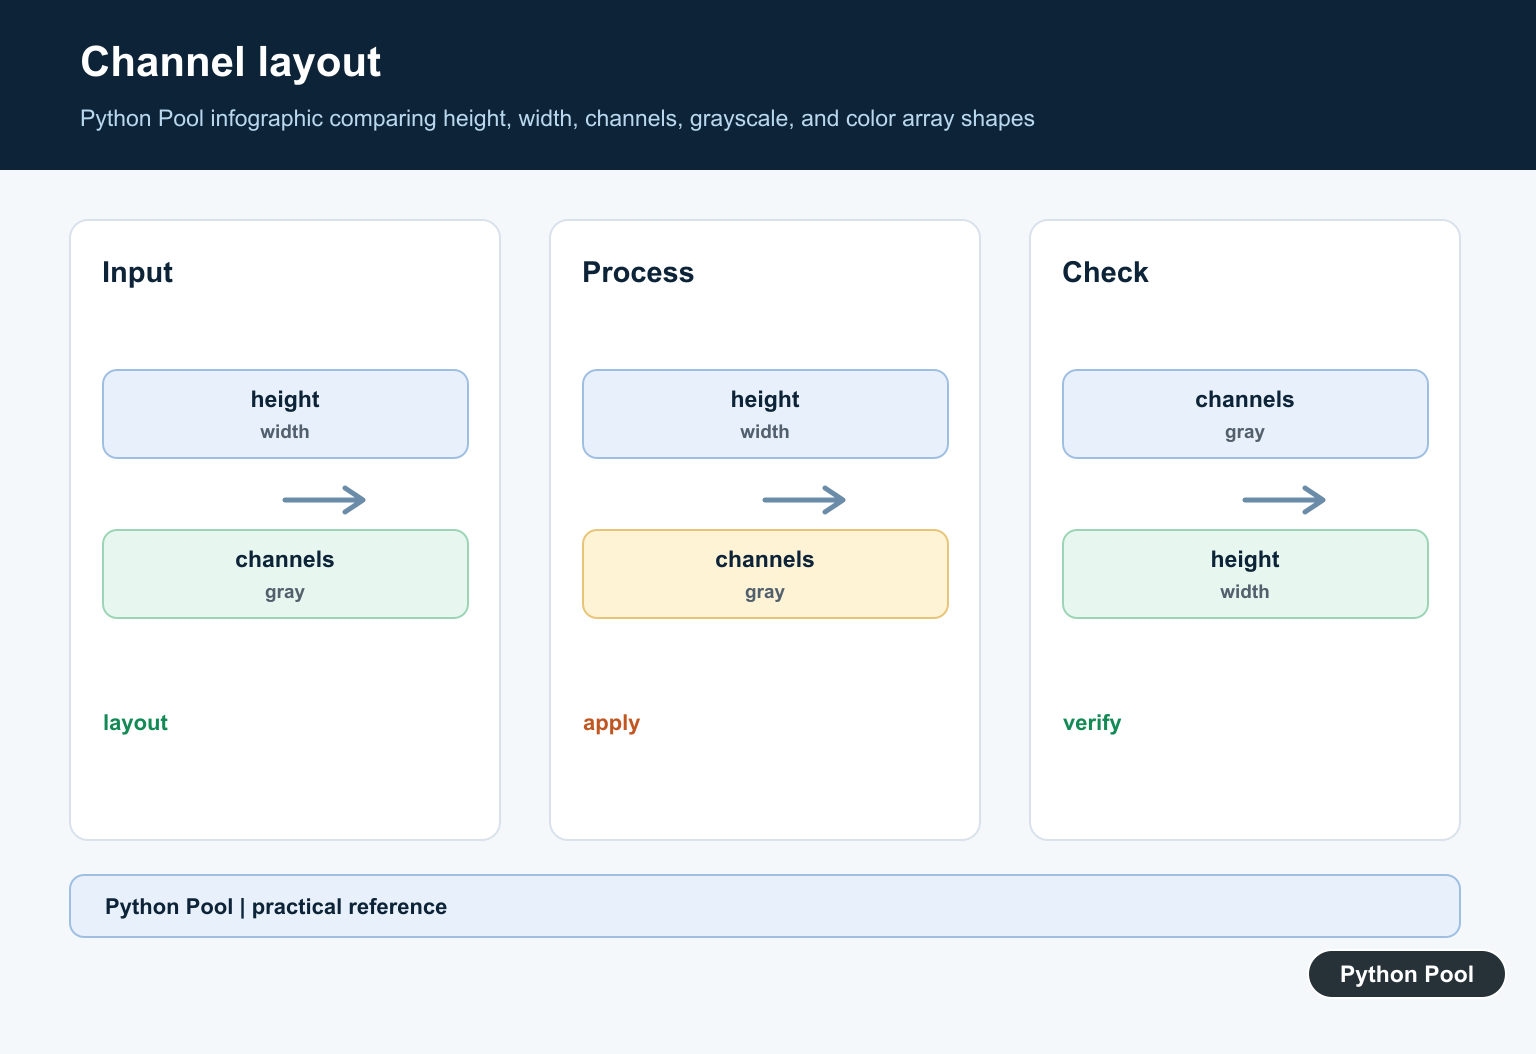
Open the image with Pillow, then pass it to np.array(). For an RGB image, the resulting shape is usually (height, width, 3). The final dimension stores red, green, and blue channel values.
from PIL import Image
import numpy as np

image = Image.open("sample.png")
array = np.array(image)

print(array.shape)
print(array.dtype)
The data type is commonly uint8, which stores values from 0 to 255. That matches normal 8-bit image channels and keeps the array compact.
Use asarray When You Do Not Need A Copy
np.asarray() can avoid an extra copy in some cases. If you plan to edit pixels, make an explicit copy so the code stays predictable.
from PIL import Image
import numpy as np

image = Image.open("sample.png").convert("RGB")
readonly_view = np.asarray(image)
editable_array = readonly_view.copy()

editable_array[0, 0] = [0, 0, 0]
print(editable_array[0, 0])
That pattern is useful when a script reads image data, performs calculations, and then writes a modified image later. The copy makes it clear that edits belong to the NumPy array.
Convert To Grayscale Before Building The Array
Image mode controls the array shape. Convert to L mode when you want one grayscale value per pixel instead of three color channels.
from PIL import Image
import numpy as np

image = Image.open("sample.png").convert("L")
gray = np.array(image)

print(gray.shape)
print(gray.min(), gray.max())
A grayscale array usually has shape (height, width). This is easier for thresholding, masks, and other workflows that only need brightness rather than full color.
Preserve Alpha Channels With RGBA
Transparent images need an alpha channel. Convert to RGBA before building the array when transparency matters.
from PIL import Image
import numpy as np

rgba_image = Image.open("logo.png").convert("RGBA")
rgba = np.array(rgba_image)

red_channel = rgba[:, :, 0]
alpha_channel = rgba[:, :, 3]

print(red_channel.shape)
print(alpha_channel.max())
For RGBA, the array shape is usually (height, width, 4). The fourth channel stores transparency. Keeping that channel avoids losing transparent areas when the image is saved again.

Convert A NumPy Array Back To An Image
After editing pixel values, convert the NumPy array back to a Pillow image with Image.fromarray(). Keep the data type and shape compatible with the image mode you want to save.
from PIL import Image
import numpy as np

image = Image.open("sample.png").convert("RGB")
array = np.array(image).copy()

array[:, :, 0] = 255

result = Image.fromarray(array)
result.save("red-tint.png")
This example sets the red channel to its maximum value and saves the result as a PNG file. In real projects, you can apply masks, filters, statistics, or model outputs before converting the array back to an image.
Process A Folder Of PNG Images
The same pattern works in batch jobs. Use pathlib to loop through image files, convert each image, and collect shape or brightness details.
from pathlib import Path

from PIL import Image
import numpy as np

for path in Path("images").glob("*.png"):
    image = Image.open(path).convert("RGB")
    array = np.asarray(image)
    print(path.name, array.shape, float(array.mean()))
Batch processing is common before face detection, object detection, or image classification. For a broader computer vision workflow, see the OpenCV face detection guide.
Common Shape And Mode Issues
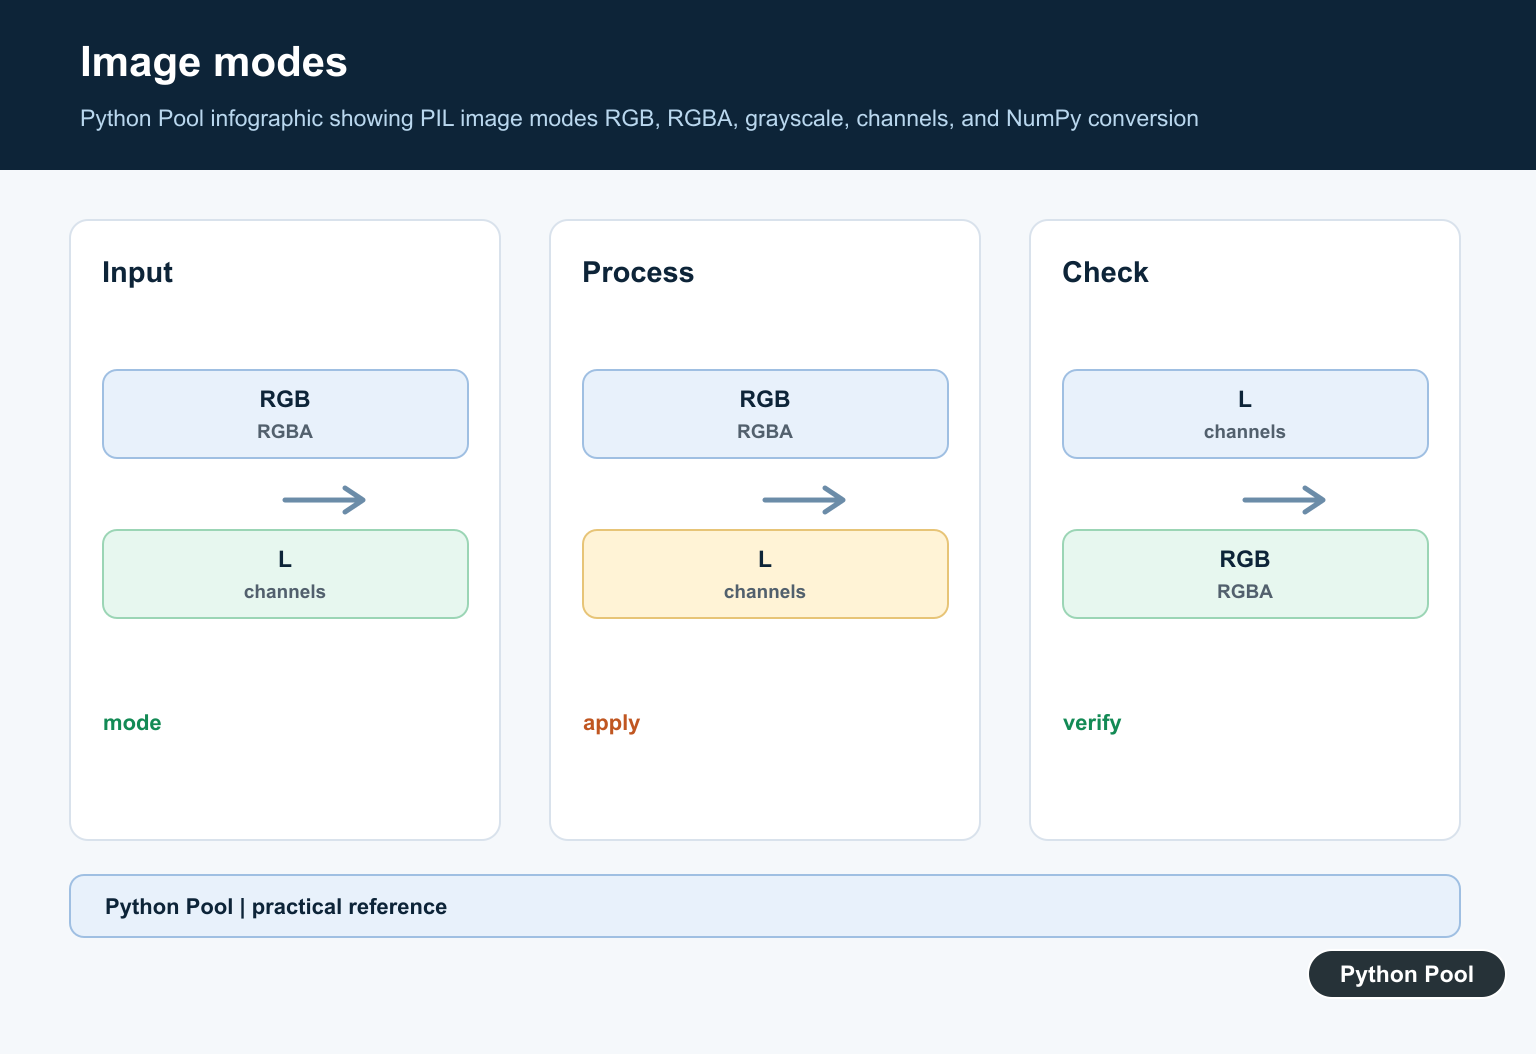
If the shape looks different from what you expected, check the Pillow mode first. RGB usually gives three channels, RGBA gives four channels, and L gives a two-dimensional grayscale array.
If the colors look wrong after using another library, check the channel order. Pillow and NumPy arrays from Pillow use RGB ordering. OpenCV commonly uses BGR ordering, so images passed between Pillow and OpenCV may need channel conversion.
If edits do not work, make sure the array is writable and has a suitable data type. A copied uint8 array is a safe default for normal image edits. For calculations that need fractions, convert to a floating-point type, scale values carefully, and convert back before saving.
The reliable workflow is simple: open with Pillow, choose the right mode, convert with np.array() or np.asarray(), inspect the shape and data type, then convert back with Image.fromarray() when you need an output image.
Convert With np.asarray()
np.asarray(image) creates an array view or shares data when the source permits it, which avoids an unnecessary copy. Treat the returned array as read-only unless the ownership and write behavior are clear; use np.array() or copy() when an independent mutable buffer is required.
from PIL import Image
import numpy as np

with Image.open("photo.png") as image:
    pixels = np.asarray(image)
    print(image.mode, pixels.shape, pixels.dtype)
Map Pillow Modes To Shapes
A mode describes how pixels are encoded. L is one grayscale channel, RGB has three color channels, and RGBA has three colors plus alpha. A palette or unusual mode may need convert() before the array shape matches an algorithm’s expectation.
from PIL import Image
import numpy as np

with Image.open("photo.png") as image:
    rgb = image.convert("RGB")
    array = np.asarray(rgb)
    print(array.shape)
    print(array.min(), array.max())
Make A Safe Mutable Copy
When an image-backed array must be edited, call copy() so later changes do not depend on Pillow’s memory ownership. Keep values in the range expected by the output mode, commonly uint8 values from 0 through 255.
from PIL import Image
import numpy as np

with Image.open("photo.png") as image:
    pixels = np.array(image.convert("L"), copy=True)
pixels[0, 0] = 0
print(pixels.dtype, pixels.shape)
Convert An Array Back To Pillow
Image.fromarray() uses the array’s dtype and shape to infer a mode when possible. Make the mode explicit when the output contract matters, and avoid passing floating-point values or an unexpected channel count without converting them first.
from PIL import Image
import numpy as np

array = np.zeros((32, 32, 3), dtype=np.uint8)
image = Image.fromarray(array, mode="RGB")
image.save("black.png")
Pillow’s official Image reference documents image modes and conversion, while NumPy’s asarray() reference explains copy and dtype behavior.
For related array conversions, compare tensor-to-NumPy conversion, array-to-list conversion, and adding array dimensions when the image pipeline changes representation.
Frequently Asked Questions
How do I convert a PIL image to a NumPy array?
Open the image with Pillow and call np.asarray(image) or np.array(image) to obtain array data.
What shape does an RGB image have?
An RGB image commonly has shape (height, width, 3), while RGBA has a fourth channel for alpha.
What is the difference between np.asarray() and np.array()?
asarray() avoids a copy when possible, while np.array() generally creates a new array unless copy behavior is changed explicitly.
How do I convert a NumPy array back to a PIL image?
Use Image.fromarray(array) after ensuring the array dtype, shape, and value range match the desired Pillow mode.