
Quick answer: ImageMagick is an image-processing suite; in Python, Wand provides a ctypes binding to its MagickWand library. Install the system library and the Python package as a pair, then choose Wand when ImageMagick formats or operations are needed instead of assuming it replaces Pillow.
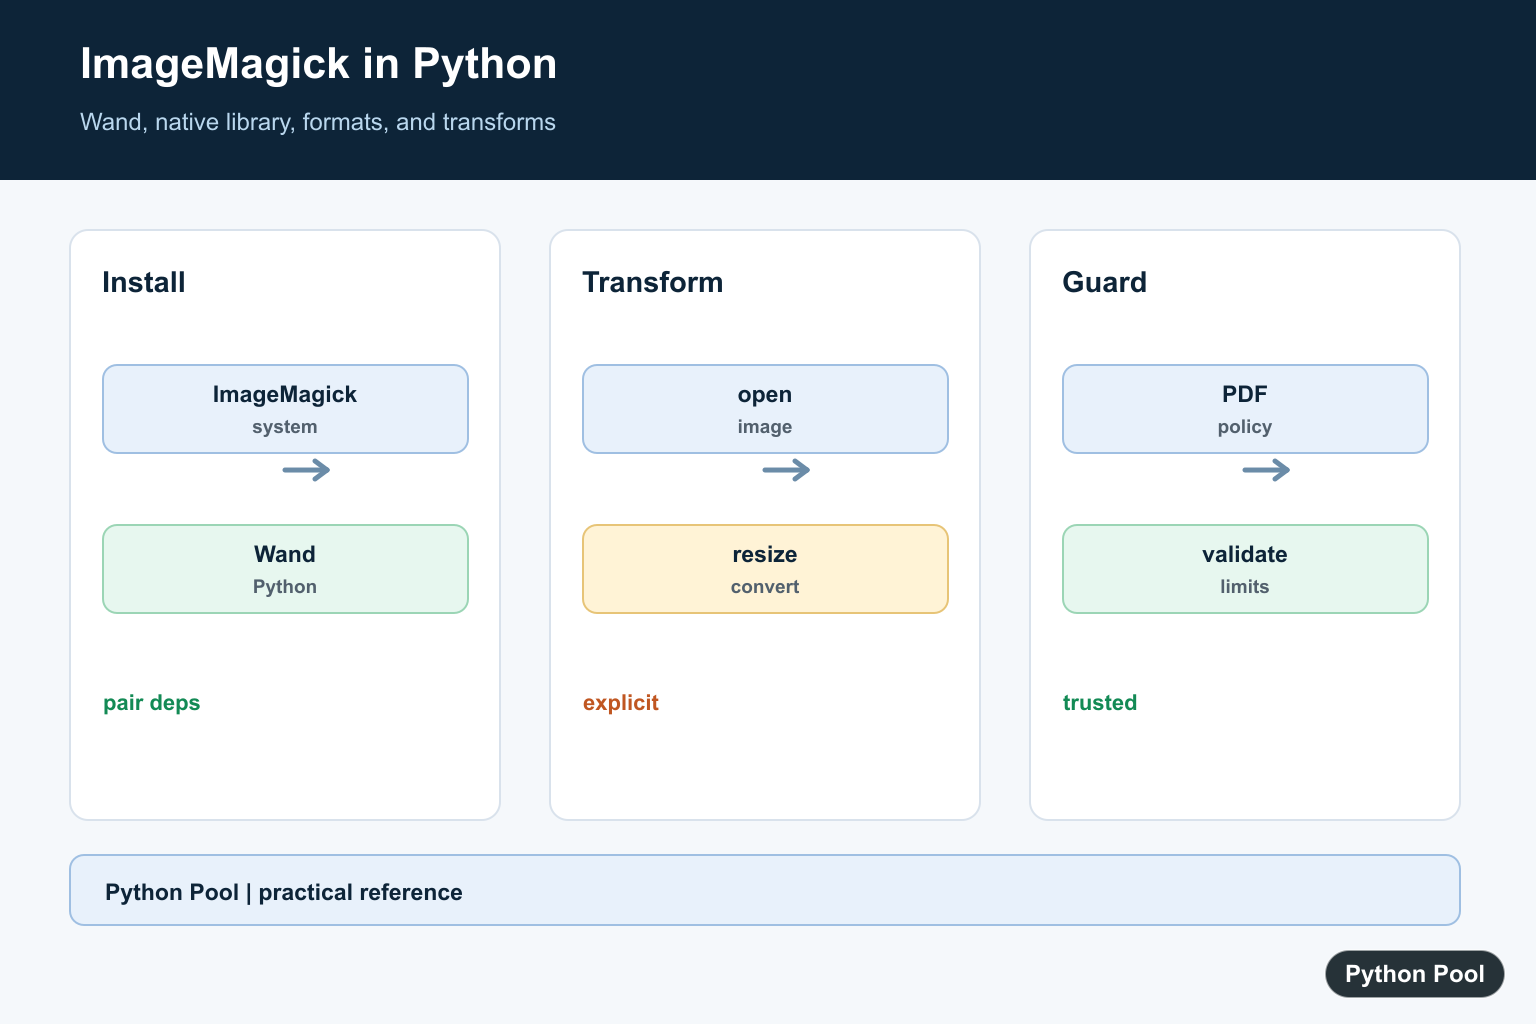
ImageMagick is a command-line and library suite for converting, editing, and composing images. In Python, the most common way to use ImageMagick directly is through Wand, a ctypes-based binding to the MagickWand API.
Use Wand when you specifically need ImageMagick features such as broad format support, PDF/image conversion, advanced transforms, or compatibility with an existing ImageMagick workflow. For simple image tasks, Pillow may be easier. For numerical image data, NumPy and OpenCV may fit better. When a dedicated generator is simpler than a general image-processing stack, Generate QR Codes With Python Guide shows the QR-code workflow.
What ImageMagick can do
The official ImageMagick website describes ImageMagick as an open-source suite for creating, editing, composing, and converting bitmap images. It supports common formats such as JPEG, PNG, GIF, TIFF, and many others. ImageMagick can resize, crop, rotate, blur, sharpen, annotate, compose, and batch-process images from scripts. For building an animated GIF from a sequence of frames with Pillow instead of Wand, follow Create a GIF Using Python and Pillow.
Wand exposes many of those features through Python objects. The official Wand documentation says Wand requires Python 3.8 or newer and the MagickWand library from ImageMagick.
Install ImageMagick and Wand
Wand is not a pure-Python image library. You need both the Python package and the ImageMagick system library.
Ubuntu or Debian
sudo apt update
sudo apt install imagemagick
python -m pip install Wand
macOS with Homebrew
brew install imagemagick
python -m pip install Wand
On Apple Silicon Macs, Wand may need MAGICK_HOME set if Python cannot find the ImageMagick library:
export MAGICK_HOME=/opt/homebrew
Windows
Install the ImageMagick Windows binary from the official download page, choose the build that matches your Python architecture, and include development headers/libraries during installation. Then install Wand:
py -m pip install Wand
The Wand installation guide covers platform-specific details, including MAGICK_HOME and Windows architecture matching. If Python itself is not found, use this fix for Python not recognized on Windows.
Verify the installation
Check the Python package first:
python -m pip show Wand
Then run a short import test:
from wand.image import Image

print(Image)
If you see an error such as ImportError: MagickWand shared library not found, Wand is installed but Python cannot find the ImageMagick library. Recheck the system install, architecture, and MAGICK_HOME setting.
Open an image and read its size
Use a context manager so the file handle and ImageMagick resources are released properly:
from wand.image import Image

with Image(filename="input.jpg") as img:
    print(img.width, img.height, img.format)
The wand.image reference lists the methods and properties available on image objects.
Convert JPG to PNG
To convert an image, open it, set the output format, and save it with the new filename:
from wand.image import Image

with Image(filename="input.jpg") as img:
    img.format = "png"
    img.save(filename="output.png")
For simple conversion jobs, the ImageMagick command-line tool can also be enough:
magick input.jpg output.png
Resize an image
This example resizes an image to 800 pixels wide while keeping the original aspect ratio:
from wand.image import Image

with Image(filename="input.jpg") as img:
    new_width = 800
    new_height = int(img.height * new_width / img.width)
    img.resize(new_width, new_height)
    img.save(filename="resized.jpg")
If you are comparing ImageMagick with Pillow workflows, see our guide on converting a PIL image to a NumPy array.
Crop an image
Wand’s crop() method takes boundaries. This example keeps a 400 by 300 area starting at x=100 and y=50:
from wand.image import Image

with Image(filename="input.jpg") as img:
    img.crop(left=100, top=50, right=500, bottom=350)
    img.save(filename="cropped.jpg")
Rotate or flip an image
Rotate an image by degrees:
from wand.image import Image

with Image(filename="input.jpg") as img:
    img.rotate(90)
    img.save(filename="rotated.jpg")
Flip an image vertically or flop it horizontally:
from wand.image import Image

with Image(filename="input.jpg") as img:
    img.flip()
    img.save(filename="flipped.jpg")

with Image(filename="input.jpg") as img:
    img.flop()
    img.save(filename="flopped.jpg")
For a Pillow-based approach, see our guide to rotating an image in Python.
Blur an image
Use blur() with a radius and sigma. A higher sigma creates a stronger blur:
from wand.image import Image

with Image(filename="input.jpg") as img:
    img.blur(radius=0, sigma=3)
    img.save(filename="blurred.jpg")
Add a text watermark
Use wand.drawing.Drawing and wand.color.Color to draw text on the image:
from wand.color import Color
from wand.drawing import Drawing
from wand.image import Image

with Image(filename="input.jpg") as img:
    with Drawing() as draw:
        draw.font_size = 42
        draw.fill_color = Color("rgba(255, 255, 255, 0.75)")
        draw.text(40, img.height - 60, "Python Pool")
        draw(img)

    img.save(filename="watermarked.jpg")
Convert PDF to images carefully
ImageMagick can work with PDFs when the required delegate tools, often Ghostscript, are installed. On many systems PDF reading is restricted by ImageMagick’s security policy. Do not relax PDF security rules for untrusted uploads without understanding the risk.
from wand.image import Image

with Image(filename="document.pdf", resolution=200) as pdf:
    for index, page in enumerate(pdf.sequence):
        with Image(page) as img:
            img.format = "png"
            img.save(filename=f"page-{index + 1}.png")
ImageMagick’s own site advises creating a security policy that fits your environment. If you only need to create PDFs from text, this guide on Python text to PDF covers another route.
Common errors
- MagickWand shared library not found: ImageMagick is missing, installed for the wrong architecture, or not discoverable through standard library paths.
- PDF not authorized: ImageMagick’s security policy blocks PDF reading. Install the needed delegate and review the policy before changing it.
- Command works in terminal but not Python: Python may be running in a different environment. Use
python -m pip show Wandand checkMAGICK_HOME. - Slow processing: Resize images before expensive effects, process batches carefully, and avoid loading huge images unless needed.
When to use Wand vs Pillow
| Use case | Better choice |
|---|---|
| Simple open, crop, resize, rotate | Pillow is usually simpler. |
| ImageMagick-specific transforms or delegates | Wand. |
| Batch conversion across many formats | ImageMagick CLI or Wand. |
| Numerical image arrays | NumPy, OpenCV, or Pillow plus NumPy. |
| PDF rasterization | Wand/ImageMagick only if the security policy and delegates are configured safely. |
If your goal is only to display an image inside a plot, our Matplotlib imshow guide is more relevant than ImageMagick.
Conclusion
ImageMagick in Python is powerful when you need ImageMagick’s format support and transformation engine from Python code. Install ImageMagick first, install Wand second, use context managers, and keep security policy in mind for PDFs and untrusted files. For smaller everyday image edits, compare Wand with Pillow before adding a system-level dependency. For invisible watermarking rather than general image conversion, Fix No Module Named imwatermark in Python explains the package-name mismatch behind the imwatermark import.
Understand The Two Dependencies
Wand is not a self-contained image engine. The Python package loads the MagickWand library supplied by ImageMagick, so a successful pip install does not prove that the runtime can load the native library.
Install Per Operating System
On Debian or Ubuntu, install the ImageMagick and MagickWand development packages before installing Wand. On macOS, Homebrew supplies ImageMagick; on Windows, install a compatible ImageMagick build and confirm the Python architecture matches it.
Open And Transform Images
Use a context manager for Wand Image objects, inspect format and dimensions, and write the result to a deliberate output path. Keep resize, crop, rotate, and conversion steps explicit so a batch job can be tested one operation at a time.
Choose Wand Or Pillow
Pillow is often simpler for ordinary Python image work, while Wand is useful for ImageMagick’s broad format support, delegates, compositing, and existing command-line workflows. NumPy and OpenCV are better fits for array or computer-vision operations.
Treat PDFs And Untrusted Files Carefully
PDF and delegate support depends on ImageMagick policy and installed components. Do not send untrusted input through a permissive conversion policy without validation, resource limits, and an isolated worker.
The Wand documentation describes its MagickWand binding and native requirements. The ImageMagick project documents the image-processing suite and policy model. Related references include array-oriented image data, OpenCV transforms, and testing workflows.
For related image workflows, compare array analysis, OpenCV transforms, and image-processing tests when choosing a library.
For the authoritative API and current behavior, consult the ImageMagick official site.
Frequently Asked Questions
How do I use ImageMagick from Python?
Install ImageMagick and the Wand package, then import Image from wand.image and open or write images through the MagickWand binding.
Is Wand the same as Pillow?
No. Wand is a binding for ImageMagick, while Pillow is a Python image library. Choose based on formats, operations, deployment, and dependency needs.
Why cannot Wand find ImageMagick?
The MagickWand system library may be missing, the architecture may differ, or the library path may not be visible to the Python process.
Can ImageMagick convert PDFs safely?
PDF conversion depends on ImageMagick delegates and security policy. Validate untrusted files and configure policies deliberately before enabling PDF workflows.
I wanna put a logo on an image using ImageMagick how can I do that?
Yes, you can do that by using
convertcommand. Use this command to add a logo over an image –magick convert download.jpg logo.jpg -gravity southeast -geometry +10+10 -composite OUTPUT.jpgThis command adds logo.jpg over download.jpg at the bottom right corner at an offset of 10 pixels in both the x and y axis.
Regards,
Pratik
Can you please do this with codes using the same example as above, but not with commands.
Thanks in advance
Yes, I’ve added a section in the above post where you can apply logo.jpg on image.jpg using the wand module.
Please let me know if you have more doubts.
Regards,
Pratik
I want to place logo at NorthWest (top left of the corner) by using python as you mentioned above.
Yes, you can change the initial coordinates of the logo overlay on line 12. So, if you want to place the logo on the top left, then use –
image.composite_channel("all_channels", logo, "dissolve", 20, 20)This will place the logo at the top left corner with an offset of 20 pixels. You can change it according to your need.
Regards,
Pratik
Thanks
Can you send me that
How to add one watermark in multiple images using python script?
I’d suggest you first load all the image files’ names by using os.listdir(). Then, apply a loop over each file containing .jpg, .png, and .webp in their file extension and then apply the given script from the post.
Regards,
Pratik
I want add a watermark on the image in top left side
Change the coordinates of the logo. To do this change the 12th line of code to –
image.composite_channel("all_channels", logo, "dissolve", 20, 20)Regards,
Pratik
Hi,
How can I draw a Polygon? draw.polygon(x x x x) doesn’t work.
Is there a manual available for all commands?
Regards
Patrick
According to official docs, you can use draw.polygon. Check the documentation to verify if you’re using correct syntax.
Hi, Pratik. Is it possible, using python (imagemagick – wand) to extract 42 phash float values for an image? I’m trying to replicate functionality of this script in python. Thanks in advance
Why do you want a 168 digit phash? You can create different types of hash for sure.
You are right. Unfortunately, I have been using that php script for several years and I already have the hash for more than 10 million images. I want to replicate that script in python to get the hash faster
Can you try using
pip install imagehashandimagehash.phash(image)?You might have to cross-check the parameters to produce the same hash values. But this might work just fine.
Regards,
Pratik