Hello geeks and welcome in this article, we will cover cv2 imshow(). Along with that, for an overall better understanding, we will also look at its syntax and parameter. Then we will see the application of all the theory part through a couple of examples. The cv2 is a cross-platform library designed to solve all computer vision-related problems. We will look at its application and work later in this article. But first, let us try to get an overview of the function through its definition.
The function cv2 imshow() is used to add an image in the window. The window itself adjusts to the size of the image. In the section, we will look at the syntax associated with this function.
Syntax
cv2.imshow(window_name, image)
This is the general syntax for our function. In the next section we will look at the various parameters associated with it.
Parameter
1. Window_name:
This parameter represents the name of window in which the image needs to be displayed.
2. image:
This parameter represents the image that we want to be displayed.
How To Install Cv2 On Your Machine?
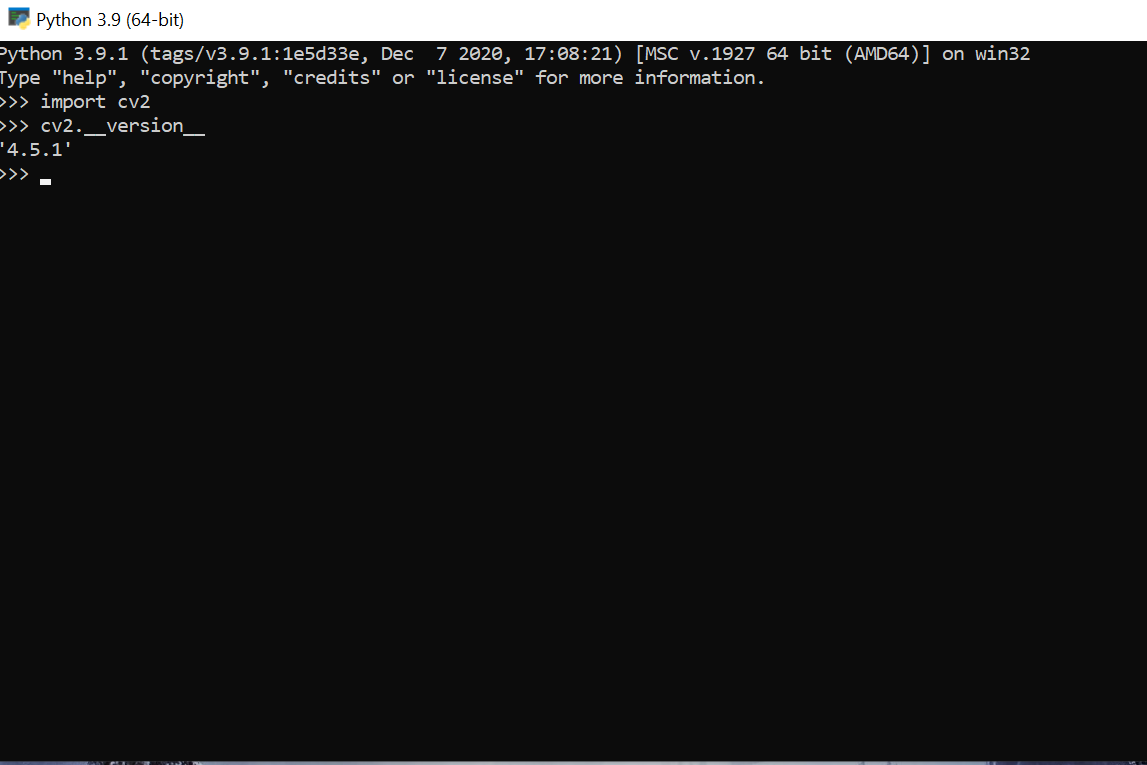
So far, we have covered the syntax, parameter, and basic definition of the cv2 library. But to actually start working with it, we first need to have cv2 installed on our machine. In this, we will discuss so. I assume you all have the latest python version installed on your machines. So open the command prompt or terminal as per the operating system you are using. In that type, “Python,” it will show you the python version you are using. Next, in that use command “pip install OpenCV-python,” it will install this for you. Along with that, it will also install you the NumPy library. Once done with that, you can check for the version and whether the installation is successful or not, as shown below.

Examples
1. Basic example for cv2.imshow()
import cv2

img = cv2.imread('10.jpeg',0)
print(img)
Output:
[[ 52  51  38 ...  33  86  34]
 [ 58  61  49 ...  67  36  19]
 [ 42  53  48 ...  20  17  45]
 ...
 [ 37  35  33 ... 127 120 113]
 [ 41  39  37 ... 118 117 114]
 [ 42  41  41 ... 113 112 111]]
Here to perform the above example I have used “Pycharm IDE” if you wish you can use the same. If you try to run the same code on your system it won’t as the image is stored locally. Now coming to the example here we have used at first imported the cv2 library then used our syntax. Here on using the print statement, it prints a matrix instead of our image. This happens because we have used the cv2 imread() function over here which reads the image and that’s why we get this as output.
2. Printing image with help of cv2 imshow()
import cv2

img = cv2.imread('10.jpeg',1)
cv2.imshow("sample",img)
cv2.waitKey(5000)
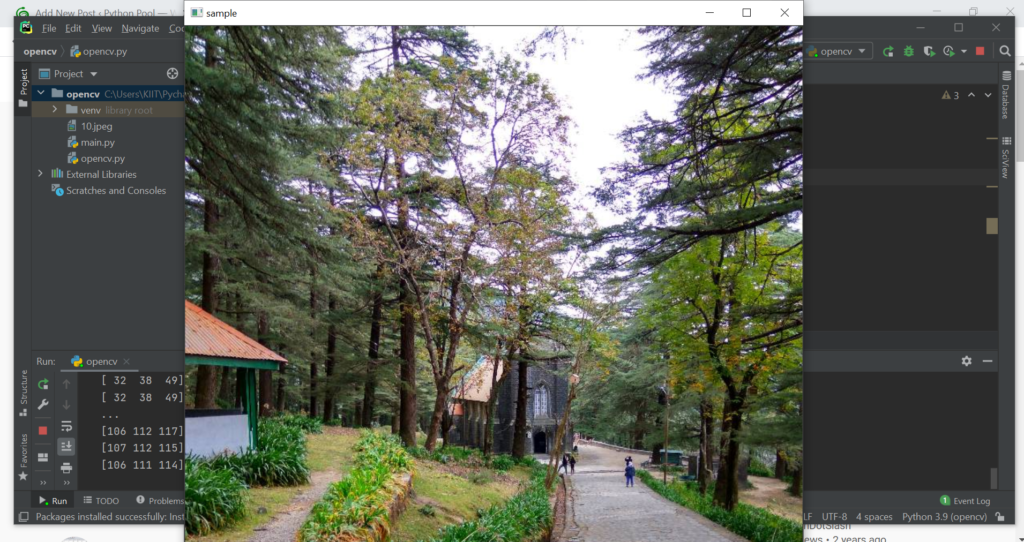
Output:

In this section, we are finally able to print our image. Here we have followed the same steps, but cv2 imshow() makes all the difference here. We have carried ahead from the program of the 1st example. Here we have used the Cv2 waitkey(), which stops our image from disappearing quickly. Here one more thing that we can note is that in imread(), I have specified “1,” which prints a color full image. But if you use “0” instead of 1 there, you get a black and white image.
Try it out yourself and tell me how things went. It is really fun thing to do.
Basic Faq’s regarding cv2 imshow()
Q. What is the size of cv2 imshow?
Ans. Cv2 imshow has no specific size. It adopts to the size of the image to be used for that we want to display.
Q. Is it possible to use cv2 imshow with out wait key?
Ans. Yes, it is possible to use the Imshow function without waitkey. But in this case, what will happen is that image will pop and vanish within the span of Nanoseconds, and you will not be able to notice anything. That’s why it is advised to use the wait key when dealing with Imshow().
Q. cv2 imshow not working?
Ans. One of the biggest reasons for not working on the CV2 Imshow is not using the wait key. Although your program may be correct in such cases since nothing appears on the screen, a general doubt regarding the code pops up. That’s why it is advised to use waitkey().
You might be interested in reading >> How to Display Images Using Matplotlib Imshow Function
Conclusion
In this article, we covered the cv2 imshow(). Besides that, we have also looked at its syntax and arguments. For better understanding, we looked at a couple of examples. We varied the syntax and looked at the output for each case. In the end, we can conclude that it helps us in displaying an image in the window.
I hope this article was able to clear all doubts. But in case you have any unsolved queries feel free to write them below in the comment section. Done reading this, why not read about the repeat function next.
