
Quick answer: Use os.path to join, normalize, inspect, and compare paths with the host operating system in mind. Build paths with path operations instead of string concatenation, and treat an existence check as a hint rather than proof that the next operation will succeed.
The oshash package computes the OpenSubtitles file hash used by subtitle and media matching workflows. It is a fast file fingerprint, not a cryptographic hash. That distinction matters because OSHash reads only selected parts of a file, while cryptographic tools such as hashlib.sha256() process the bytes needed for security-sensitive integrity checks.
Current primary references are the oshash PyPI project, the oshash GitHub repository, the oshash API source, and the official Python hashlib documentation.
PyPI currently lists oshash version 0.1.1, released on March 16, 2020, with Python >=3.5 support metadata. The package is small and exposes one main function, oshash.oshash(path), plus a command line entry point named oshash.
The algorithm starts with the file size, reads the first 64 KiB, reads the last 64 KiB, treats those chunks as little-endian signed 64-bit words, adds them into an unsigned 64-bit total, and returns a 16-character hexadecimal value. Because the first and last chunks are required, the package raises an error for files smaller than 128 KiB.
Use this module when you specifically need an OpenSubtitles-compatible hash. That usually means matching local video files to subtitle catalogs or comparing media fingerprints with a system that already uses this format. Do not use it as a replacement for SHA-256, BLAKE2, HMAC, password hashing, package verification, malware checks, or any workflow where an attacker may choose the input.
The examples below are offline-safe. They create temporary data on disk, avoid network access, and guard imports so the snippets still run in an environment where oshash is not installed. Install the package with your normal dependency workflow before using the package-specific examples in a real project.
Compute An oshash Value
The direct package API accepts a path string and returns hexadecimal text. The sample creates a temporary 128 KiB file so it satisfies the package’s minimum size rule.
from pathlib import Path
from tempfile import TemporaryDirectory

try:
    import oshash
except ModuleNotFoundError:
    print("Install oshash to run this example.")
else:
    with TemporaryDirectory() as temp_dir:
        path = Path(temp_dir) / "sample.bin"
        path.write_bytes((b"A" * 65536) + (b"B" * 65536))

        print(oshash.oshash(str(path)))
For production code, pass the path to an existing media file. Keep the result as text when storing it in a database, logging it, or sending it to another service. The value is already formatted as padded hexadecimal text.
Recreate The Algorithm With Standard Library Code
A small reference implementation helps explain what the package is doing. It is also useful in tests when you want to compare expected values without hiding the file-size and chunk rules.
import os
from pathlib import Path
from struct import unpack
from tempfile import TemporaryDirectory

CHUNK_SIZE = 64 * 1024
WORD_FORMAT = "<q"
WORD_BYTES = 8

def to_uint64(number):
    return number & 0xFFFFFFFFFFFFFFFF

def opensubtitles_hash(path):
    path = Path(path)
    size = path.stat().st_size
    if size < CHUNK_SIZE * 2:
        raise ValueError("file must be at least 128 KiB")

    total = size
    with path.open("rb") as handle:
        for _ in range(CHUNK_SIZE // WORD_BYTES):
            total = to_uint64(total + unpack(WORD_FORMAT, handle.read(WORD_BYTES))[0])

        handle.seek(-CHUNK_SIZE, os.SEEK_END)
        for _ in range(CHUNK_SIZE // WORD_BYTES):
            total = to_uint64(total + unpack(WORD_FORMAT, handle.read(WORD_BYTES))[0])

    return f"{total:016x}"

with TemporaryDirectory() as temp_dir:
    path = Path(temp_dir) / "movie.bin"
    path.write_bytes((b"head" * 16384) + (b"tail" * 16384))
    print(opensubtitles_hash(path))
This mirrors the source-level behavior: 64 KiB from the front, 64 KiB from the end, plus the total byte length. The middle of a large file is not part of the calculation. That is why the result is fast, and it is also why the result should be treated as a media lookup key rather than proof that every byte is unchanged.

Compare The Package To A Local Check
When adding OSHash to a project, one useful test is to compare the package result with a small local implementation on controlled data. This checks the environment and confirms the package result matches the documented format.
import os
from pathlib import Path
from struct import unpack
from tempfile import TemporaryDirectory

try:
    import oshash
except ModuleNotFoundError:
    print("Install oshash to compare results.")
else:
    def local_hash(path):
        path = Path(path)
        total = path.stat().st_size
        with path.open("rb") as handle:
            for _ in range(8192):
                total = (total + unpack("<q", handle.read(8))[0]) & 0xFFFFFFFFFFFFFFFF
            handle.seek(-65536, os.SEEK_END)
            for _ in range(8192):
                total = (total + unpack("<q", handle.read(8))[0]) & 0xFFFFFFFFFFFFFFFF
        return f"{total:016x}"

    with TemporaryDirectory() as temp_dir:
        path = Path(temp_dir) / "clip.bin"
        path.write_bytes((b"left" * 16384) + (b"right" * 16384))
        print(oshash.oshash(str(path)) == local_hash(path))
If this prints True, the installed package and the local check agree for that sample file. In a test suite, keep the sample small enough to create quickly but large enough to meet the 128 KiB rule.
Use The Command Line Tool Safely
The package also installs an oshash command. Check that the command is available before running it from Python, especially in shared scripts, notebooks, and CI jobs.
from pathlib import Path
from shutil import which
from subprocess import run
from tempfile import TemporaryDirectory

command = which("oshash")
if command is None:
    print("Install oshash to use the command line tool.")
else:
    with TemporaryDirectory() as temp_dir:
        path = Path(temp_dir) / "video.bin"
        path.write_bytes((b"C" * 65536) + (b"D" * 65536))

        result = run([command, str(path)], capture_output=True, text=True, check=True)
        print(result.stdout.strip())
Using check=True makes failures visible instead of silently accepting a broken command. Capturing output is convenient when a larger program needs to parse the hash and attach it to a media record.
Handle Small Files Before Calling oshash
OpenSubtitles hashing needs a head chunk and a tail chunk. For files below 128 KiB, decide how your application should behave before calling the package. Returning None, raising your own error, or falling back to a full-file digest are all clearer than letting the failure appear far away from the input boundary.
from pathlib import Path
from tempfile import TemporaryDirectory

try:
    import oshash
except ModuleNotFoundError:
    print("Install oshash to run this example.")
else:
    def safe_oshash(path):
        path = Path(path)
        if path.stat().st_size < 128 * 1024:
            return None
        return oshash.oshash(str(path))

    with TemporaryDirectory() as temp_dir:
        path = Path(temp_dir) / "tiny.bin"
        path.write_bytes(b"too small")
        print(safe_oshash(path))
This wrapper keeps the minimum-size policy close to the call site. For user-facing tools, replace None with a message that explains the file is too small for OpenSubtitles hashing.

Compare OSHash With hashlib
Use hashlib when the task is full-file integrity, signatures, or security-sensitive comparison. The two values below answer different questions: OSHash is a fast OpenSubtitles-compatible identifier, while SHA-256 is a cryptographic digest of the full byte stream.
import hashlib
from pathlib import Path
from tempfile import TemporaryDirectory

try:
    import oshash
except ModuleNotFoundError:
    print("Install oshash to run the OSHash half of this example.")
else:
    with TemporaryDirectory() as temp_dir:
        path = Path(temp_dir) / "clip.bin"
        path.write_bytes((b"E" * 65536) + b"middle" + (b"F" * 65536))

        fast_id = oshash.oshash(str(path))
        with path.open("rb") as handle:
            sha256 = hashlib.file_digest(handle, "sha256").hexdigest()

        print(fast_id)
        print(sha256[:16])
A practical rule is simple: choose oshash only when you need OpenSubtitles compatibility, and choose hashlib when you need a digest for the actual file contents. Store the algorithm name beside saved values so future code can tell which kind of hash it is reading.
In short, the Python oshash module is a focused tool for media-file matching. It is fast because it reads the size, first chunk, and last chunk instead of scanning the whole file. That makes it useful for the right catalog workflow, but it should sit beside, not replace, full-file hashing tools from Python’s standard library.
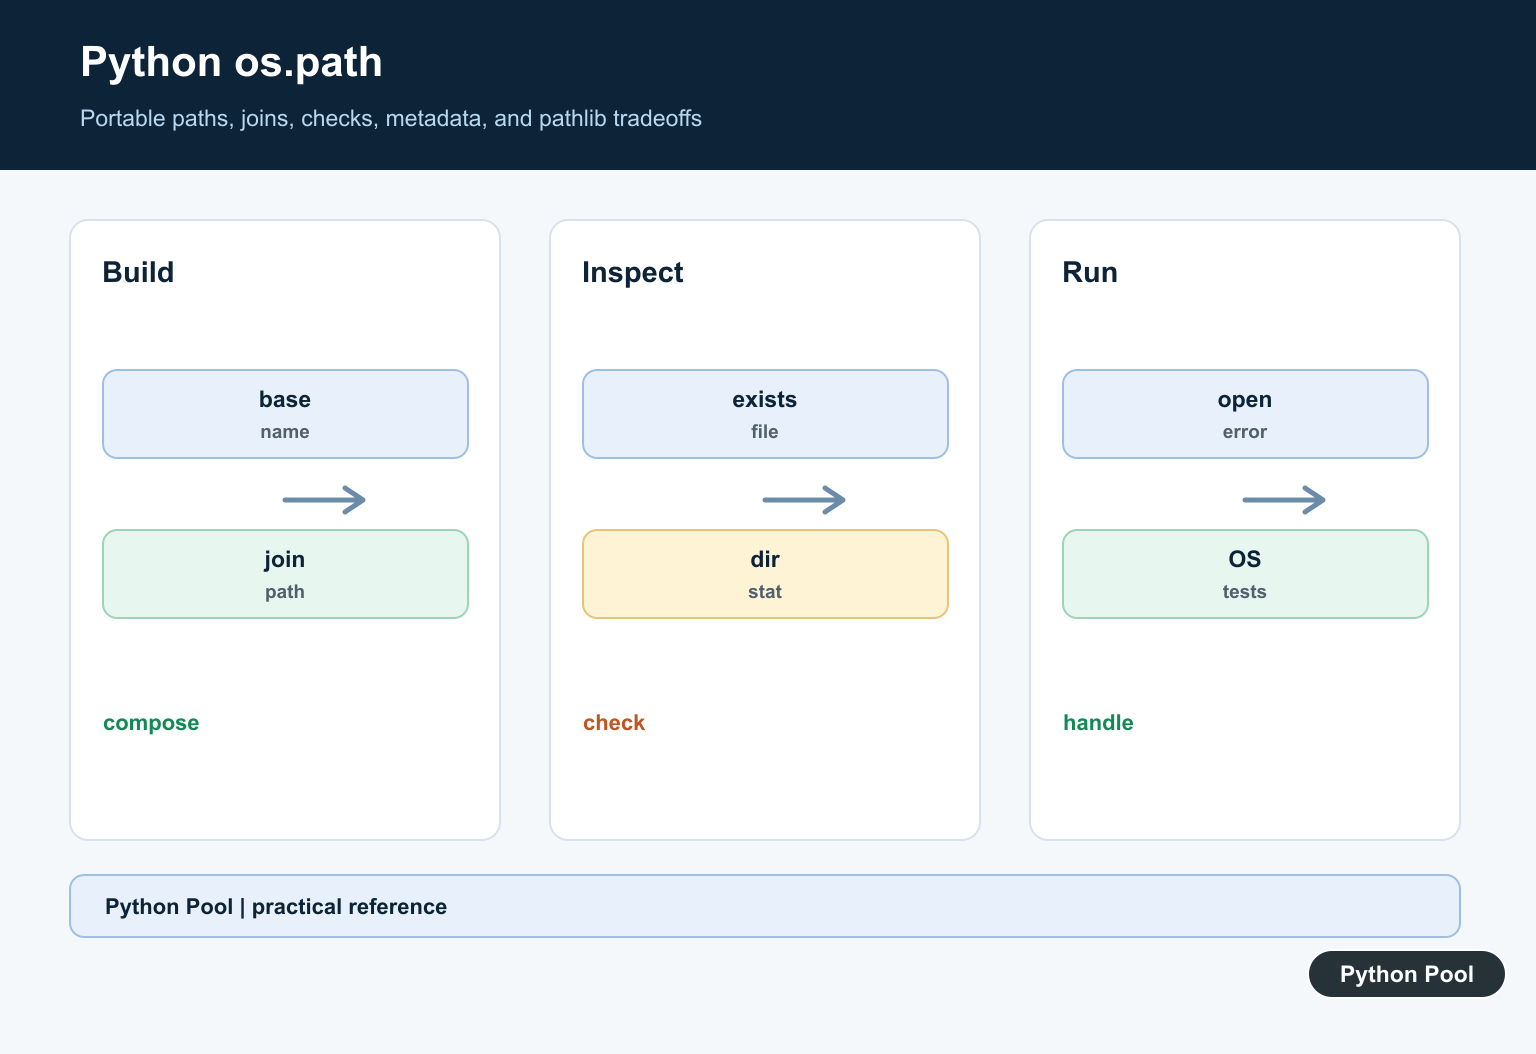
Build Paths Portably
os.path.join combines components using the platform’s separator and discards earlier components when a later one is absolute. Keep user-controlled components constrained to the intended root before joining them.

Choose pathlib When It Helps
pathlib.Path offers methods and operators for common path operations, while os.path remains useful for compatibility and APIs that expect strings. Pick one style consistently within a module.
Inspect The Result
Use isfile, isdir, exists, getsize, and related operations for diagnostics and validation. A path can disappear or change between a check and the actual open, so still handle the operation’s exception.
Resolve Relative Paths
A relative path is based on the process working directory, not necessarily the directory containing the Python file. Log a safely resolved diagnostic path and define the application base explicitly.

Handle Metadata And Links
Metadata and symbolic-link behavior vary by operation and platform. Decide whether links should be followed, avoid trusting names supplied by untrusted users, and document permissions assumptions.
Test Across Environments
Test separators, relative and absolute inputs, missing parents, directories, symlinks where supported, Unicode names, and permission failures. Assert the path contract without hard-coding one developer machine.
The official os.path documentation defines path operations. Related Python Pool references include tests and dictionaries.
For related path and environment work, compare structured configuration, cross-platform tests, and safe path diagnostics when using os.path.
Frequently Asked Questions
What is Python os.path used for?
It provides functions for joining, normalizing, inspecting, and comparing filesystem paths in an operating-system-aware way.
Should I use os.path or pathlib?
Both are standard-library choices; pathlib offers an object-oriented interface, while os.path is common in existing code and low-level integrations.
Why should I use os.path.join?
It inserts the correct separator and handles path components more safely than concatenating strings with a slash.
Does os.path.exists prove a file can be opened?
No. The path can change, permissions can differ, and a path may refer to a directory, so handle the actual operation and its exception too.