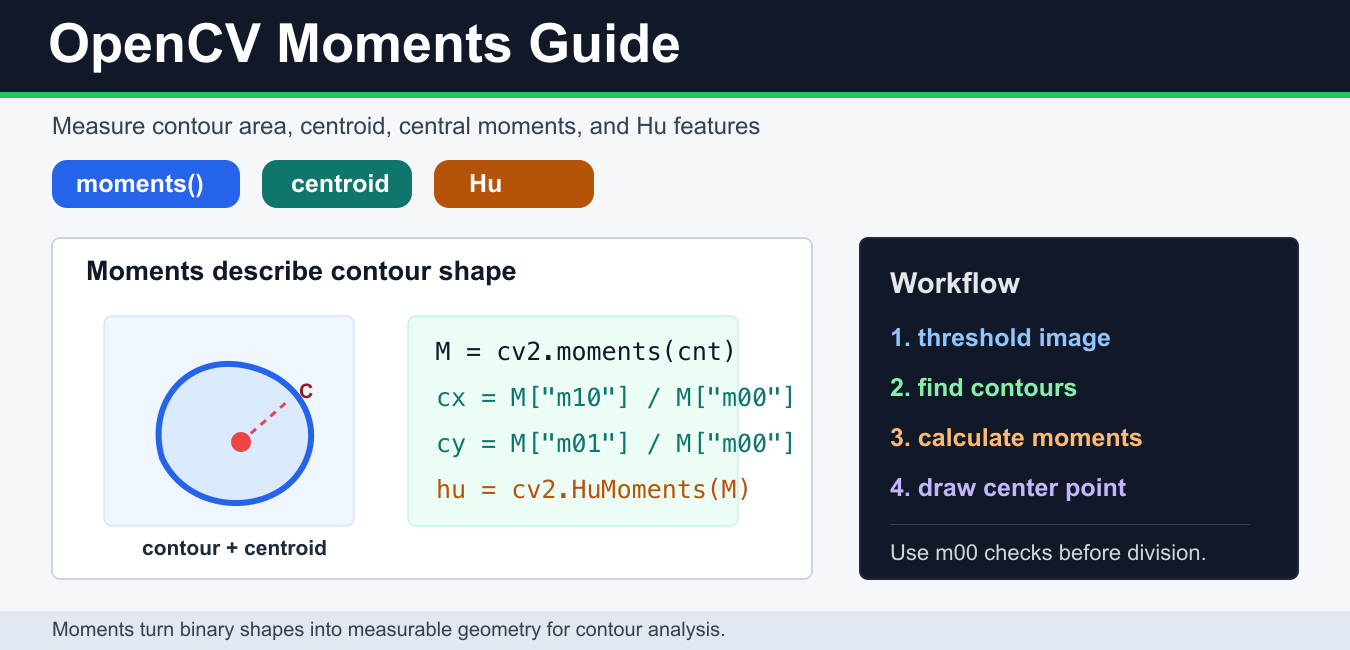
Quick answer: cv2.moments summarizes a contour or binary image. Use m00 for area-like mass, compute the centroid from m10 and m01 only when m00 is nonzero, and use Hu moments when a compact shape descriptor is needed.
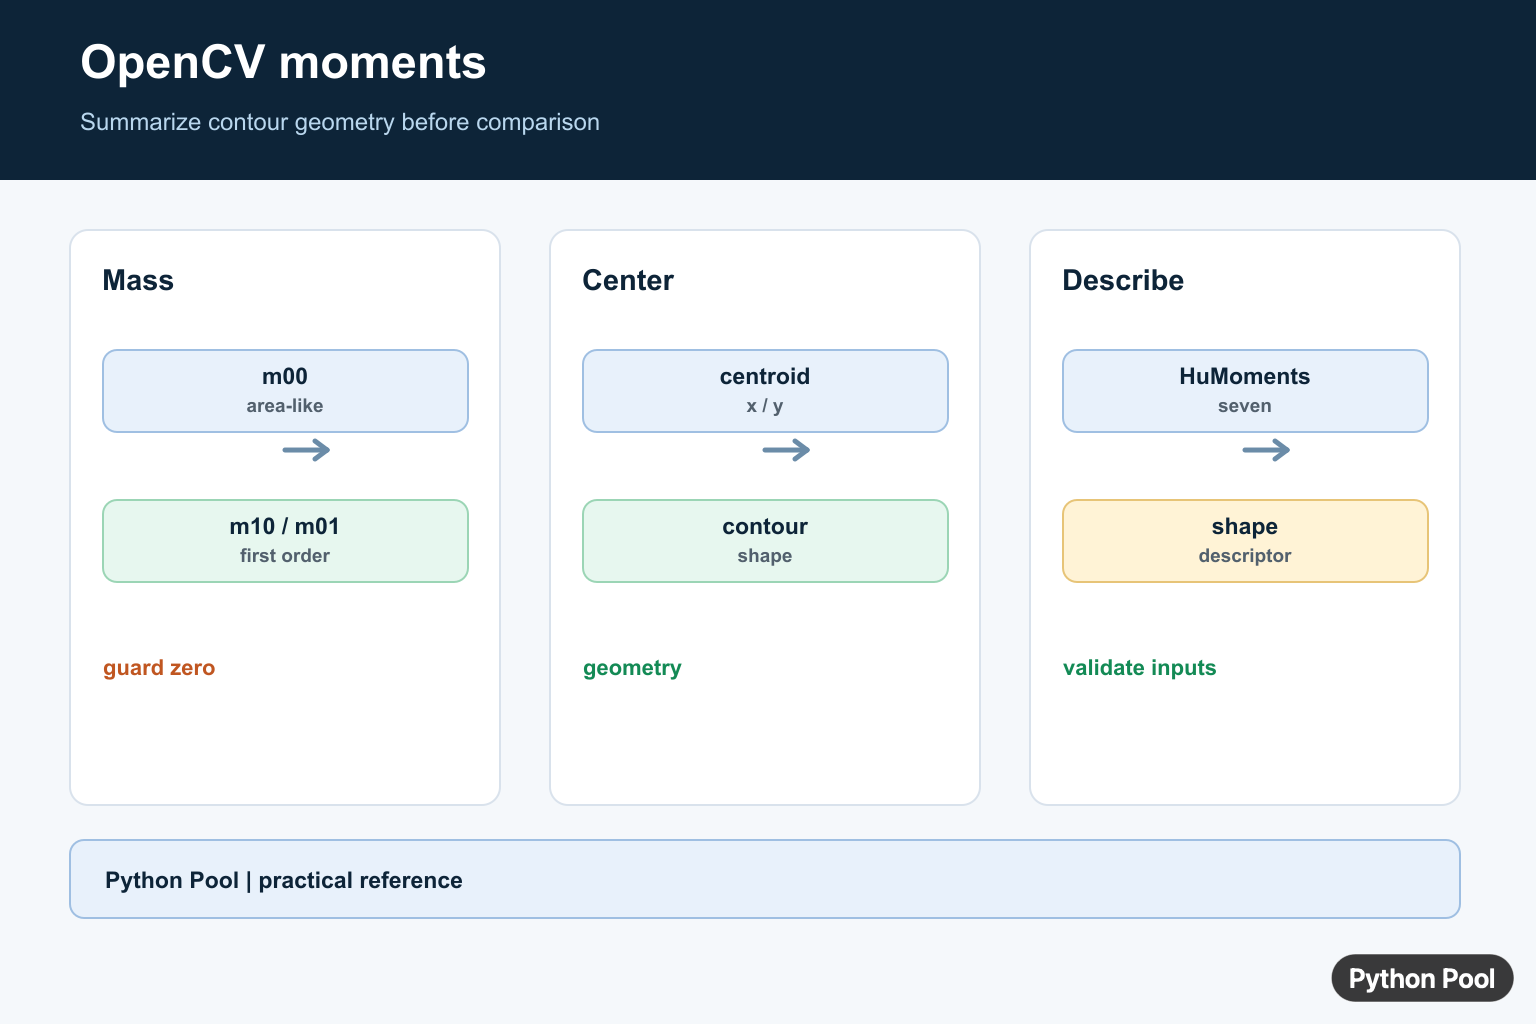
OpenCV moments summarize the shape and pixel distribution of a contour or binary image. In Python, the main function is cv2.moments(). It returns a dictionary of spatial moments such as m00, m10, and m01, plus central and normalized moments that help describe the contour shape.
Moments are commonly used to find a contour’s area, centroid, orientation clues, and Hu moment descriptors. They are most useful after an image has been thresholded and contours have been detected.
What cv2.moments() returns
cv2.moments() accepts either a contour or a single-channel image. For contour analysis, pass one contour from cv2.findContours(). The returned dictionary includes:
m00: area-like zeroth spatial moment.m10andm01: first-order spatial moments used for centroid coordinates.mu20,mu11, and related keys: central moments.nu20,nu11, and related keys: normalized central moments.
The official OpenCV contour features tutorial introduces moments together with contour area, perimeter, and other shape measurements.
Calculate moments for a simple shape
This example creates a binary mask, draws a filled circle, and calculates its moments. It is a useful way to see the moment keys without loading an external image.
import cv2
import numpy as np

mask = np.zeros((220, 220), dtype="uint8")
cv2.circle(mask, (110, 110), 60, 255, -1)

moments = cv2.moments(mask)
print(moments["m00"])
print(moments["m10"])
print(moments["m01"])
m00 is the zeroth spatial moment. For a binary mask, it is related to the white-pixel area. For a contour, m00 is often used like contour area, but cv2.contourArea() is clearer when area is the only value you need.
Find contour centroid with OpenCV moments
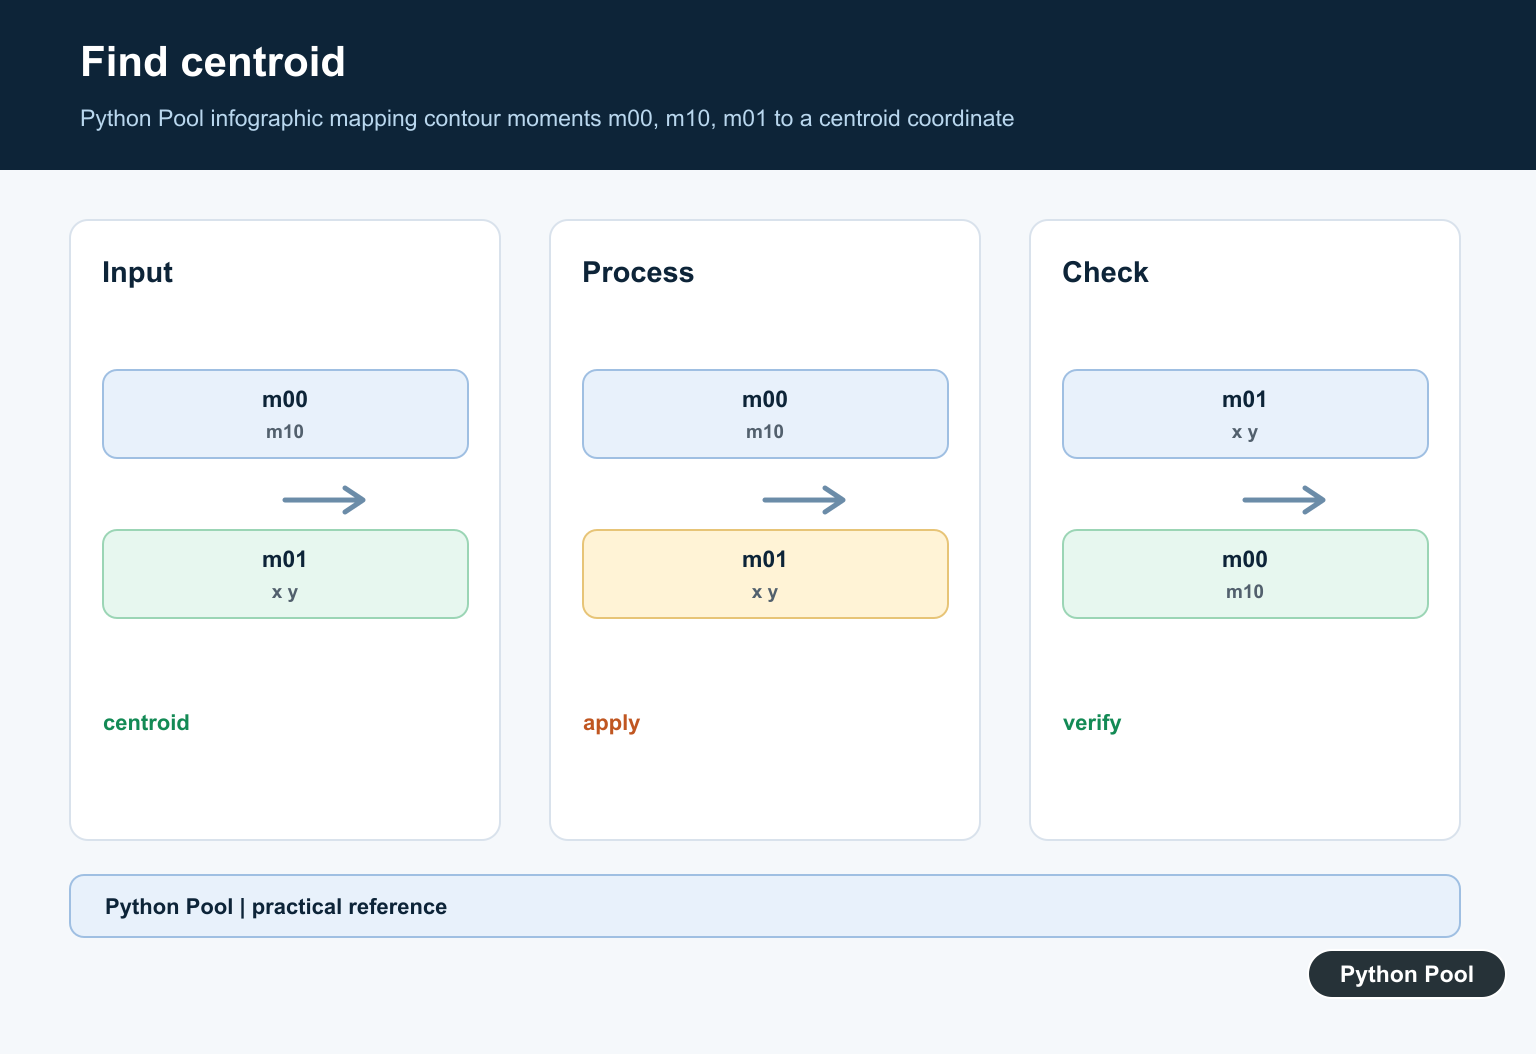
The centroid is the center of mass of a contour. For many shape-analysis tasks, this is the most practical use of moments. Use m10 / m00 for the x-coordinate and m01 / m00 for the y-coordinate.
import cv2
import numpy as np

mask = np.zeros((220, 220), dtype="uint8")
cv2.rectangle(mask, (45, 60), (175, 160), 255, -1)

contours, _ = cv2.findContours(mask, cv2.RETR_EXTERNAL, cv2.CHAIN_APPROX_SIMPLE)
contour = contours[0]

moments = cv2.moments(contour)
if moments["m00"] != 0:
    cx = int(moments["m10"] / moments["m00"])
    cy = int(moments["m01"] / moments["m00"])
    print(cx, cy)
Always check m00 before dividing. A tiny or degenerate contour can produce m00 == 0, which would otherwise raise a division error.
Use moments after thresholding an image
Real images usually need preprocessing before moments are useful. A common workflow is grayscale conversion, thresholding, contour detection, and then moment calculation on the selected contour.
import cv2

image = cv2.imread("shape.png")
gray = cv2.cvtColor(image, cv2.COLOR_BGR2GRAY)
_, binary = cv2.threshold(gray, 127, 255, cv2.THRESH_BINARY)

contours, _ = cv2.findContours(binary, cv2.RETR_EXTERNAL, cv2.CHAIN_APPROX_SIMPLE)
largest = max(contours, key=cv2.contourArea)

moments = cv2.moments(largest)
area = cv2.contourArea(largest)
print(area, moments["m00"])
The OpenCV contours getting started guide explains the contour-detection step. Python Pool’s cv2.imshow() guide is useful when you need to inspect each intermediate mask.
Draw the centroid and contour
After calculating the centroid, you can draw the contour and center point on a copy of the image. This is a good sanity check before using the coordinates in measurement, tracking, or labeling code.
output = image.copy()

if moments["m00"] != 0:
    cx = int(moments["m10"] / moments["m00"])
    cy = int(moments["m01"] / moments["m00"])

    cv2.drawContours(output, [largest], -1, (0, 255, 0), 2)
    cv2.circle(output, (cx, cy), 5, (0, 0, 255), -1)
    cv2.putText(output, "centroid", (cx + 8, cy), cv2.FONT_HERSHEY_SIMPLEX, 0.5, (0, 0, 255), 1)
The drawing functions are documented in OpenCV’s imgproc drawing reference. For object-detection workflows, the Python Pool guides on face detection with OpenCV and cv2.boundingRect() are related.
Hu moments in OpenCV
Hu moments are seven values derived from normalized central moments. They are designed to describe shape in a way that is more stable under translation, scale, and rotation than raw spatial moments. In OpenCV, call cv2.HuMoments() with the moment dictionary.
moments = cv2.moments(largest)
hu = cv2.HuMoments(moments).flatten()

for index, value in enumerate(hu, start=1):
    print(index, value)
Hu values can be very small, so many examples transform them with a signed logarithm before comparing shapes.
import numpy as np

hu = cv2.HuMoments(moments).flatten()
log_hu = -np.sign(hu) * np.log10(np.abs(hu) + 1e-30)
print(log_hu)
See the OpenCV shape-processing reference for moments(), HuMoments(), contourArea(), and related shape functions.
Common OpenCV moments mistakes
Using color images directly. Convert to grayscale or create a binary mask before calculating image moments.
Skipping the m00 check. Always verify m00 != 0 before calculating centroid coordinates.
Using the wrong contour. If an image contains many shapes, choose the contour intentionally. Common choices include the largest contour, a contour inside a region of interest, or contours filtered by bounding box size.
Expecting moments to replace normalization. If lighting or contrast varies, normalize the input first. The cv2.normalize() guide covers that preprocessing step.
Confusing geometric features. Moments describe shape distribution. For keypoints and feature matching, see OpenCV keypoints and cv2.findHomography(). For image-array conversion and transformations, see PIL image to NumPy array and rotate image in Python.
Conclusion
Use OpenCV moments when you need numeric features from a contour or binary shape. Start by thresholding the image, find contours, choose the contour you care about, calculate cv2.moments(), and check m00 before computing the centroid. For more advanced shape comparison, derive Hu moments from the same dictionary.
Calculate Area And Centroid
For a contour, cv2.moments returns spatial, central, and normalized moments. The centroid formulas use the first-order moments divided by m00, so guard against a degenerate contour or empty region before dividing.
import cv2
import numpy as np

contour = np.array([[0, 0], [4, 0], [4, 3]], dtype=np.int32)
moments = cv2.moments(contour)

if moments["m00"] == 0:
    raise ValueError("contour has no measurable area")
cx = moments["m10"] / moments["m00"]
cy = moments["m01"] / moments["m00"]
print(cx, cy)
Use Contours From A Binary Mask
A common pipeline thresholds or segments an image, finds contours, and computes moments for each contour. Keep retrieval mode and approximation method explicit because they change which contours and points are available for analysis.
gray = cv2.imread("shape.png", cv2.IMREAD_GRAYSCALE)
_, mask = cv2.threshold(gray, 127, 255, cv2.THRESH_BINARY)
contours, _ = cv2.findContours(
    mask, cv2.RETR_EXTERNAL, cv2.CHAIN_APPROX_SIMPLE
)

for contour in contours:
    print(cv2.contourArea(contour), cv2.moments(contour)["m00"])
Use Hu Moments As Descriptors
Hu moments are derived from normalized central moments and can be useful for comparing shapes across scale and rotation. They are descriptors, not a complete classifier: choose preprocessing, contour selection, normalization, and comparison thresholds from validation data.
for contour in contours:
    moments = cv2.moments(contour)
    hu = cv2.HuMoments(moments).flatten()
    print(hu)
OpenCV’s official image moments tutorial covers contours, centroids, and Hu moments; the shape-analysis reference defines the related APIs.
For related shape analysis, compare keypoints, pose estimation, and face detection when moments are one stage in a larger vision pipeline.
Frequently Asked Questions
What are moments in OpenCV?
Moments are scalar summaries of a shape or binary image that can describe area, centroid, spread, and other geometric properties.
How do I find a contour centroid with OpenCV?
Call cv2.moments(contour), then compute cx=m10/m00 and cy=m01/m00 after checking that m00 is not zero.
What are Hu moments?
Hu moments are seven values derived from normalized central moments and are commonly used as scale- and rotation-aware shape descriptors.
Why can the centroid calculation divide by zero?
A degenerate contour or empty region can have m00 equal to zero, so guard the denominator before calculating coordinates.