
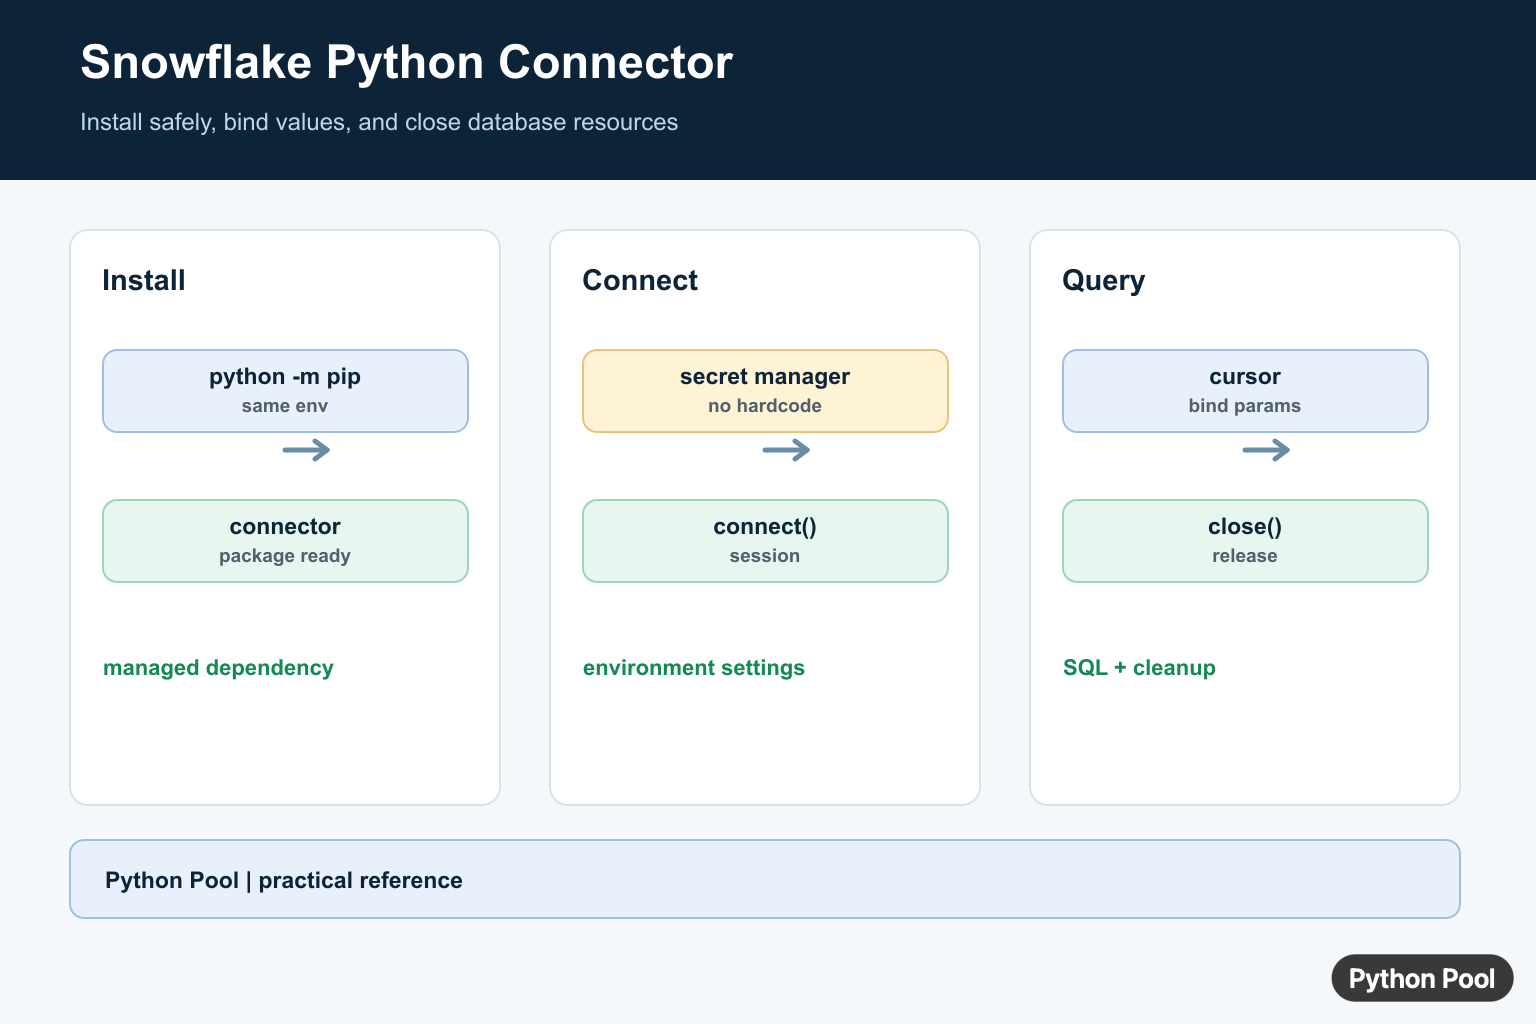
Quick answer: The Snowflake Connector for Python lets a Python process connect to Snowflake and issue SQL through cursors. Install it in an isolated environment, keep secrets in configuration, bind values, and close resources explicitly.
The Snowflake Python Connector lets Python applications connect to Snowflake, run SQL queries, fetch rows, and load query results into Python workflows. It is the standard low-level connector when you need direct database access from scripts, services, notebooks, or data jobs.
Use the connector when you need SQL execution and cursor control. For dataframe-focused work, Snowpark or pandas integrations may be more convenient, but the connector remains a practical base for many automation tasks.
The connector is especially useful when a Python program needs to run a small set of predictable SQL statements as part of a larger process. Common examples include a nightly data quality check, an export job, a report builder, or an internal service that reads reference tables from Snowflake. In those cases, keeping the database interaction explicit makes the code easier to review and troubleshoot.
The official Snowflake Python Connector documentation is the primary reference. For related data topics, see NumPy read CSV and insertion sort in Python.
Install The Connector
Install the connector in the same environment that runs your script. This example uses Python’s current executable to avoid installing into the wrong environment.
import subprocess
import sys

subprocess.check_call([
    sys.executable,
    "-m",
    "pip",
    "install",
    "snowflake-connector-python",
])
After installation, restart notebooks or long-running services so they load the package from the current environment.
If your project uses a lock file, add the connector through the same dependency process used by the rest of the application. That keeps local development, CI, and production jobs on compatible package versions. For containerized jobs, install it during the image build rather than at runtime so failures are caught before deployment.
Create A Connection
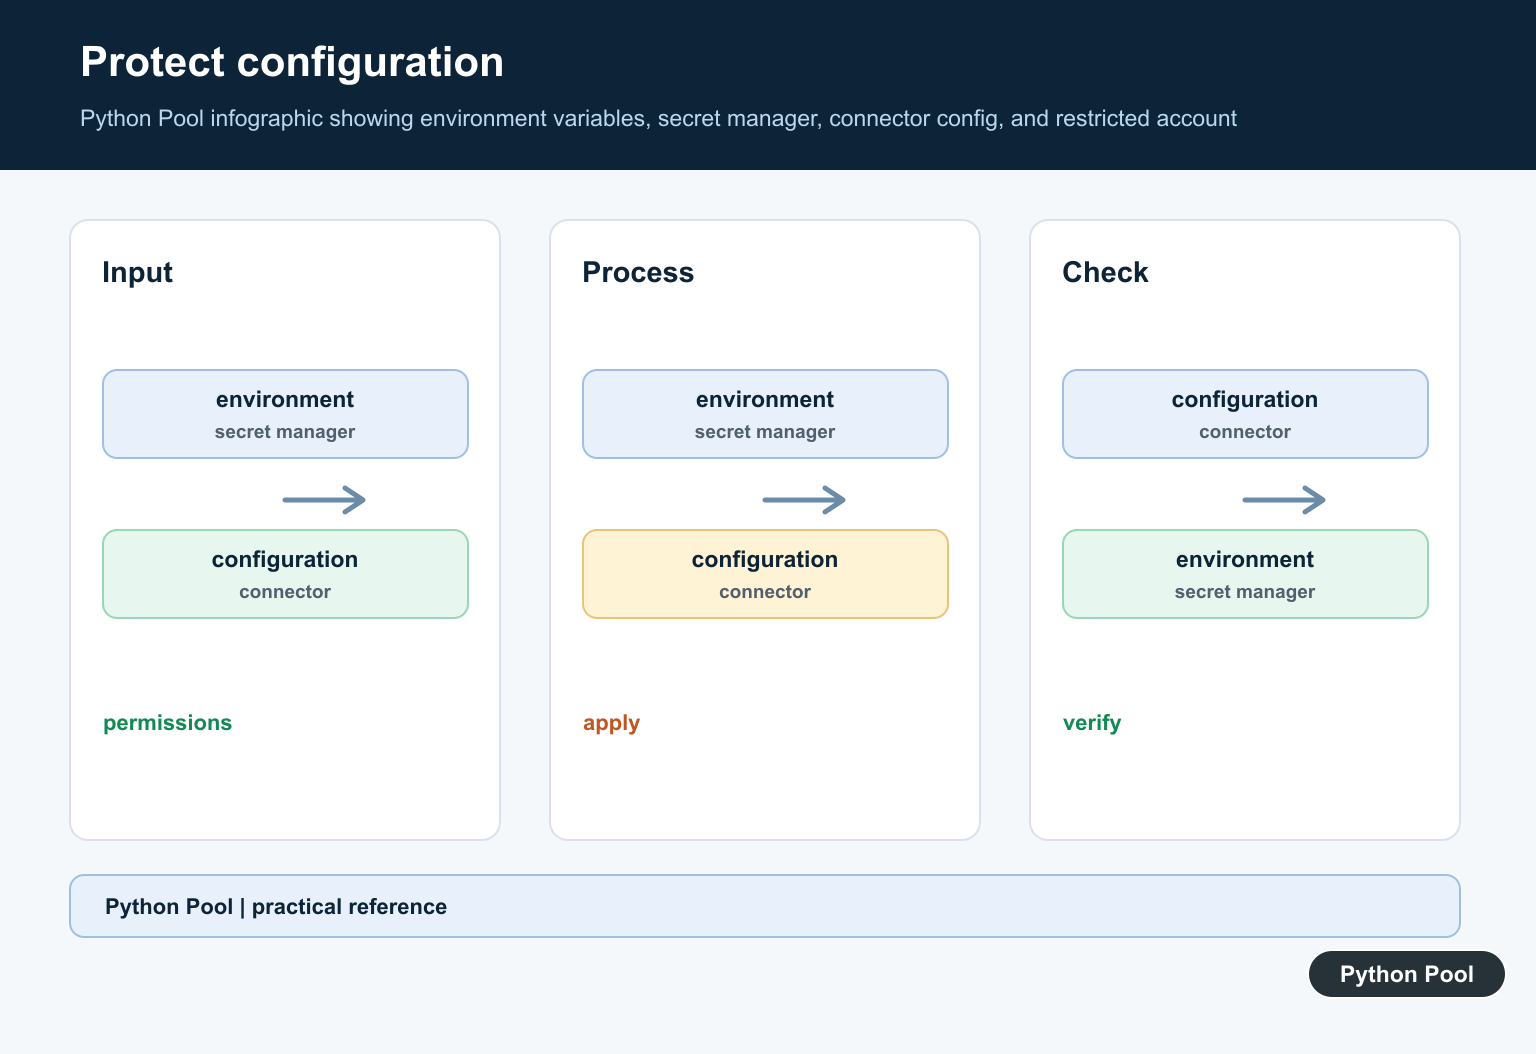
Keep connection details in environment settings or a secret manager. Do not hard-code credentials in source files.
import os
import snowflake.connector

connection = snowflake.connector.connect(
    account=os.environ["SNOWFLAKE_ACCOUNT"],
    user=os.environ["SNOWFLAKE_USER"],
    password=os.environ["SNOWFLAKE_PASSWORD"],
    warehouse=os.environ["SNOWFLAKE_WAREHOUSE"],
    database=os.environ["SNOWFLAKE_DATABASE"],
    schema=os.environ["SNOWFLAKE_SCHEMA"],
)

connection.close()
Production code should also decide how it handles roles, authenticators, private keys, network policies, and warehouse selection.
A connection opens a Snowflake session, so treat it as a resource with a clear lifetime. Short scripts can open a connection, run work, and close it in one flow. Long-running services should define when connections are created, how failures are retried, and how idle sessions are cleaned up.

Run A Query
Use a cursor to execute SQL and fetch rows. Close cursors and connections when finished.
import snowflake.connector

connection = snowflake.connector.connect(
    account="example",
    user="user",
    password="secret",
)

cursor = connection.cursor()
try:
    cursor.execute("select current_version()")
    row = cursor.fetchone()
    print(row[0])
finally:
    cursor.close()
    connection.close()
For real applications, avoid placeholder credentials and load settings securely. The query flow is the same once the connection is established.
Simple queries often use fetchone() for one row or fetchall() for a small result. For larger results, fetch in smaller batches or stream work through the cursor so memory use stays predictable. This matters when a task reads audit tables, event rows, or warehouse reports that can grow over time.
Use Query Parameters
Parameters keep data separate from SQL text and reduce quoting mistakes.
cursor.execute(
    "select * from users where status = %s limit %s",
    ("active", 10),
)

for row in cursor.fetchall():
    print(row)
Use parameters for values. Do not build SQL strings by concatenating user input into the query.
Query parameters are for values such as names, statuses, dates, and limits. SQL identifiers such as table names and column names should come from trusted application choices, not direct user input. This keeps the SQL shape controlled while still letting runtime data change safely.

Fetch Rows As Dictionaries
Snowflake can return rows as dictionaries when you use the dictionary cursor class.
from snowflake.connector import DictCursor

cursor = connection.cursor(DictCursor)
try:
    cursor.execute("select current_database() as database_name")
    row = cursor.fetchone()
    print(row["DATABASE_NAME"])
finally:
    cursor.close()
Dictionary rows make code easier to read when queries return several columns. They also avoid relying on column position.
This style is helpful in reporting scripts where the selected columns may be reviewed by people who do not maintain the Python code every day. Named fields make the next transformation step clearer, and they reduce mistakes when the query order changes during maintenance.
Handle Connector Errors
Catch Snowflake connector errors so logs identify the failed operation without exposing secrets.
import snowflake.connector
from snowflake.connector.errors import Error

try:
    connection = snowflake.connector.connect(account="example")
except Error as error:
    print("Snowflake connection failed")
    print(error.errno)
    print(error.sqlstate)
else:
    connection.close()
Error handling should distinguish connection failures, authentication failures, SQL errors, and timeout behavior. Each one has a different operational response.
For production jobs, log enough context to identify which operation failed, but avoid printing credentials or full sensitive statements. A useful log entry usually includes the job name, query label, elapsed time, Snowflake error number, and whether the job can retry safely.
Best Practices
Keep credentials out of source control, use least-privilege roles, and close connections promptly. For scheduled jobs, log the query name, duration, and row counts rather than full sensitive SQL text.
Use explicit warehouses, databases, schemas, and roles so scripts behave consistently across environments. If a script depends on session context, set that context in code or configuration instead of relying on the account default.
Review warehouse size and query frequency before scheduling a Python job. A connector script can be small, but the SQL it runs can still consume real compute. Put limits around result size, test against realistic data, and make sure retries do not accidentally run expensive work multiple times.
The reliable pattern is to install the connector in the right environment, connect with secure settings, use parameters for values, close resources, and log failures clearly. That gives Python code a maintainable path into Snowflake without hiding database behavior inside ad hoc scripts.
Install In The Right Environment
Install snowflake-connector-python in the same virtual environment that will run the application. Confirm the interpreter and package belong together before debugging credentials or account settings. Pin or manage the dependency according to the deployment policy.
# Run in the activated project environment:
# python -m pip install snowflake-connector-python

import snowflake.connector
print(snowflake.connector.__version__)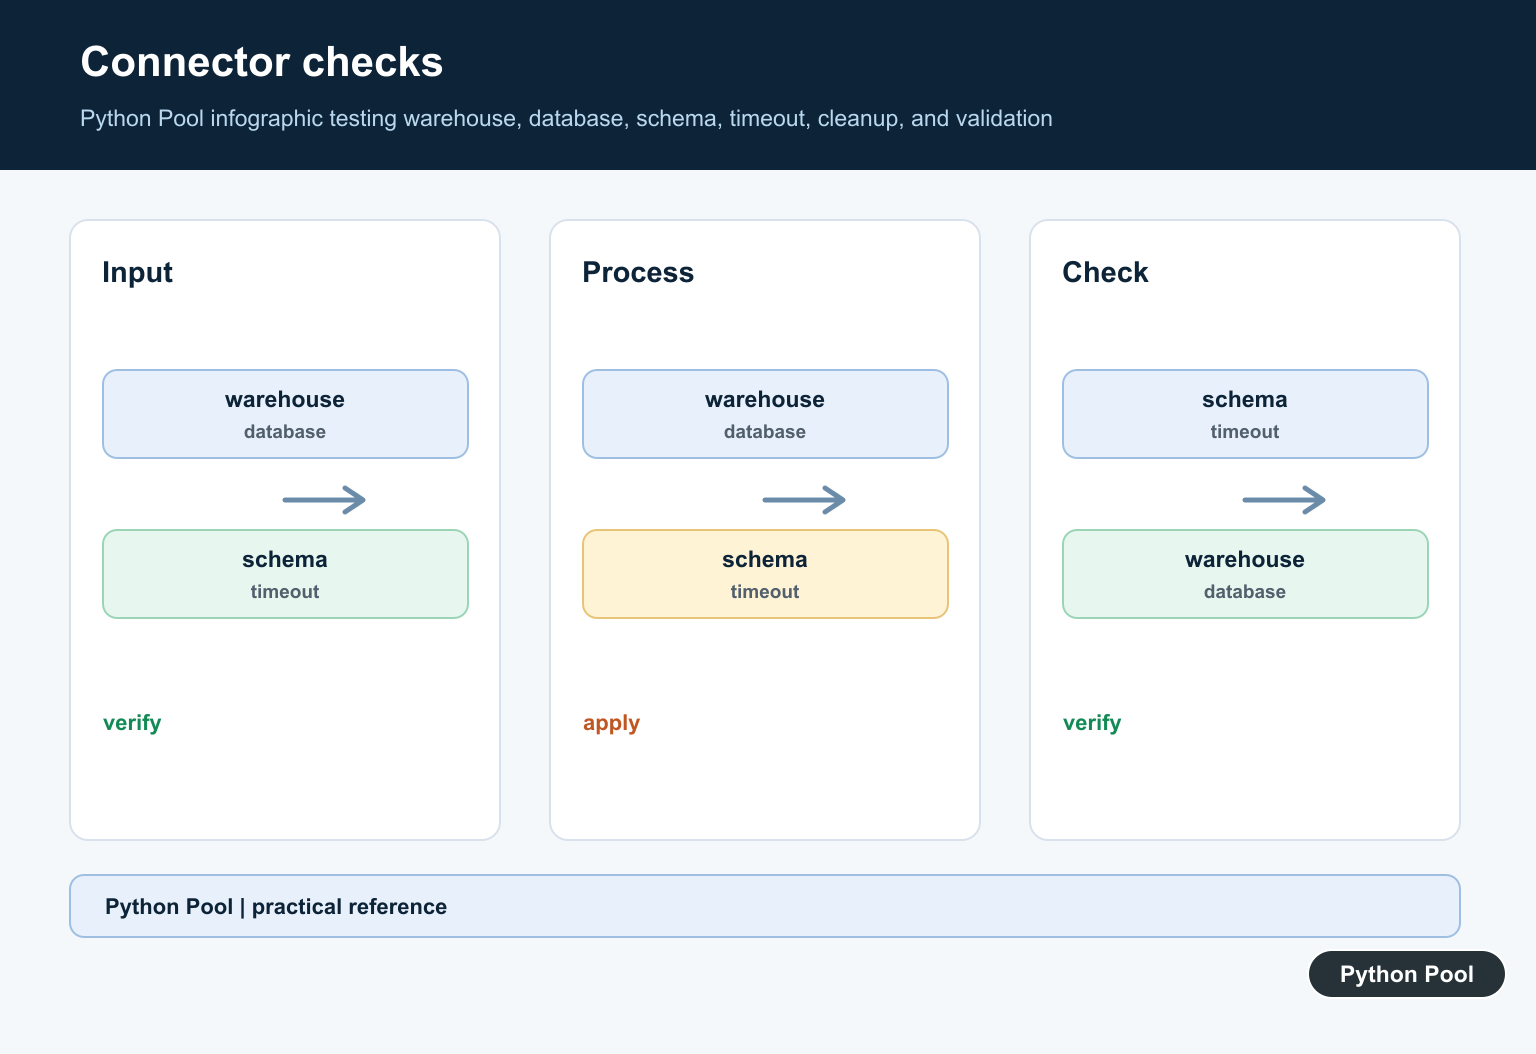
Load Connection Settings Safely
Do not paste account passwords, tokens, or private keys into a tutorial, repository, or notebook that will be shared. Load required settings from environment variables or the platform’s secret manager and fail with a useful message when a required value is missing.
import os
import snowflake.connector

connection = snowflake.connector.connect(
    account=os.environ["SNOWFLAKE_ACCOUNT"],
    user=os.environ["SNOWFLAKE_USER"],
    password=os.environ["SNOWFLAKE_PASSWORD"],
    warehouse=os.environ["SNOWFLAKE_WAREHOUSE"],
    database=os.environ["SNOWFLAKE_DATABASE"],
    schema=os.environ["SNOWFLAKE_SCHEMA"],
)
Use Cursors And Parameters
A cursor represents query execution and result retrieval. Bind values through the connector instead of concatenating user input into SQL. Close the cursor and connection in a finally block or context manager so failures do not leak server-side or client-side resources.
cursor = connection.cursor()
try:
    cursor.execute("SELECT * FROM users WHERE user_id = %s", (user_id,))
    rows = cursor.fetchall()
finally:
    cursor.close()
    connection.close()
Use Snowflake’s official connector installation guide for supported Python versions and connector-specific options.
For environment and database setup, compare configuration with python-decouple, process boundaries, and optional imports.
Frequently Asked Questions
How do I install the Snowflake Connector for Python?
Install the snowflake-connector-python package in the project environment with pip, preferably using a pinned or managed dependency policy.
How do I connect to Snowflake from Python?
Call snowflake.connector.connect() with account and authentication settings loaded from a secure configuration source rather than hardcoded in the script.
How do I run a parameterized query?
Use a cursor and the connector’s parameter binding instead of interpolating user input into SQL text.
Should I use the connector or Snowpark?
Use the connector when your Python process sends SQL to Snowflake; choose Snowpark when you need DataFrame workflows or code execution close to the data.